User Groups
User Groups help you control who can view, edit, or access diagrams, perfect for large organisations. In this guide, we’ll show you how to create a group, add and remove users from the group, delete a group, restrict projects, change user group access types, and view accessible projects.
Create a Group and Add Users
Note: Only Organisation Admin can create a user group. Diagram Editors can also add individual users to groups.
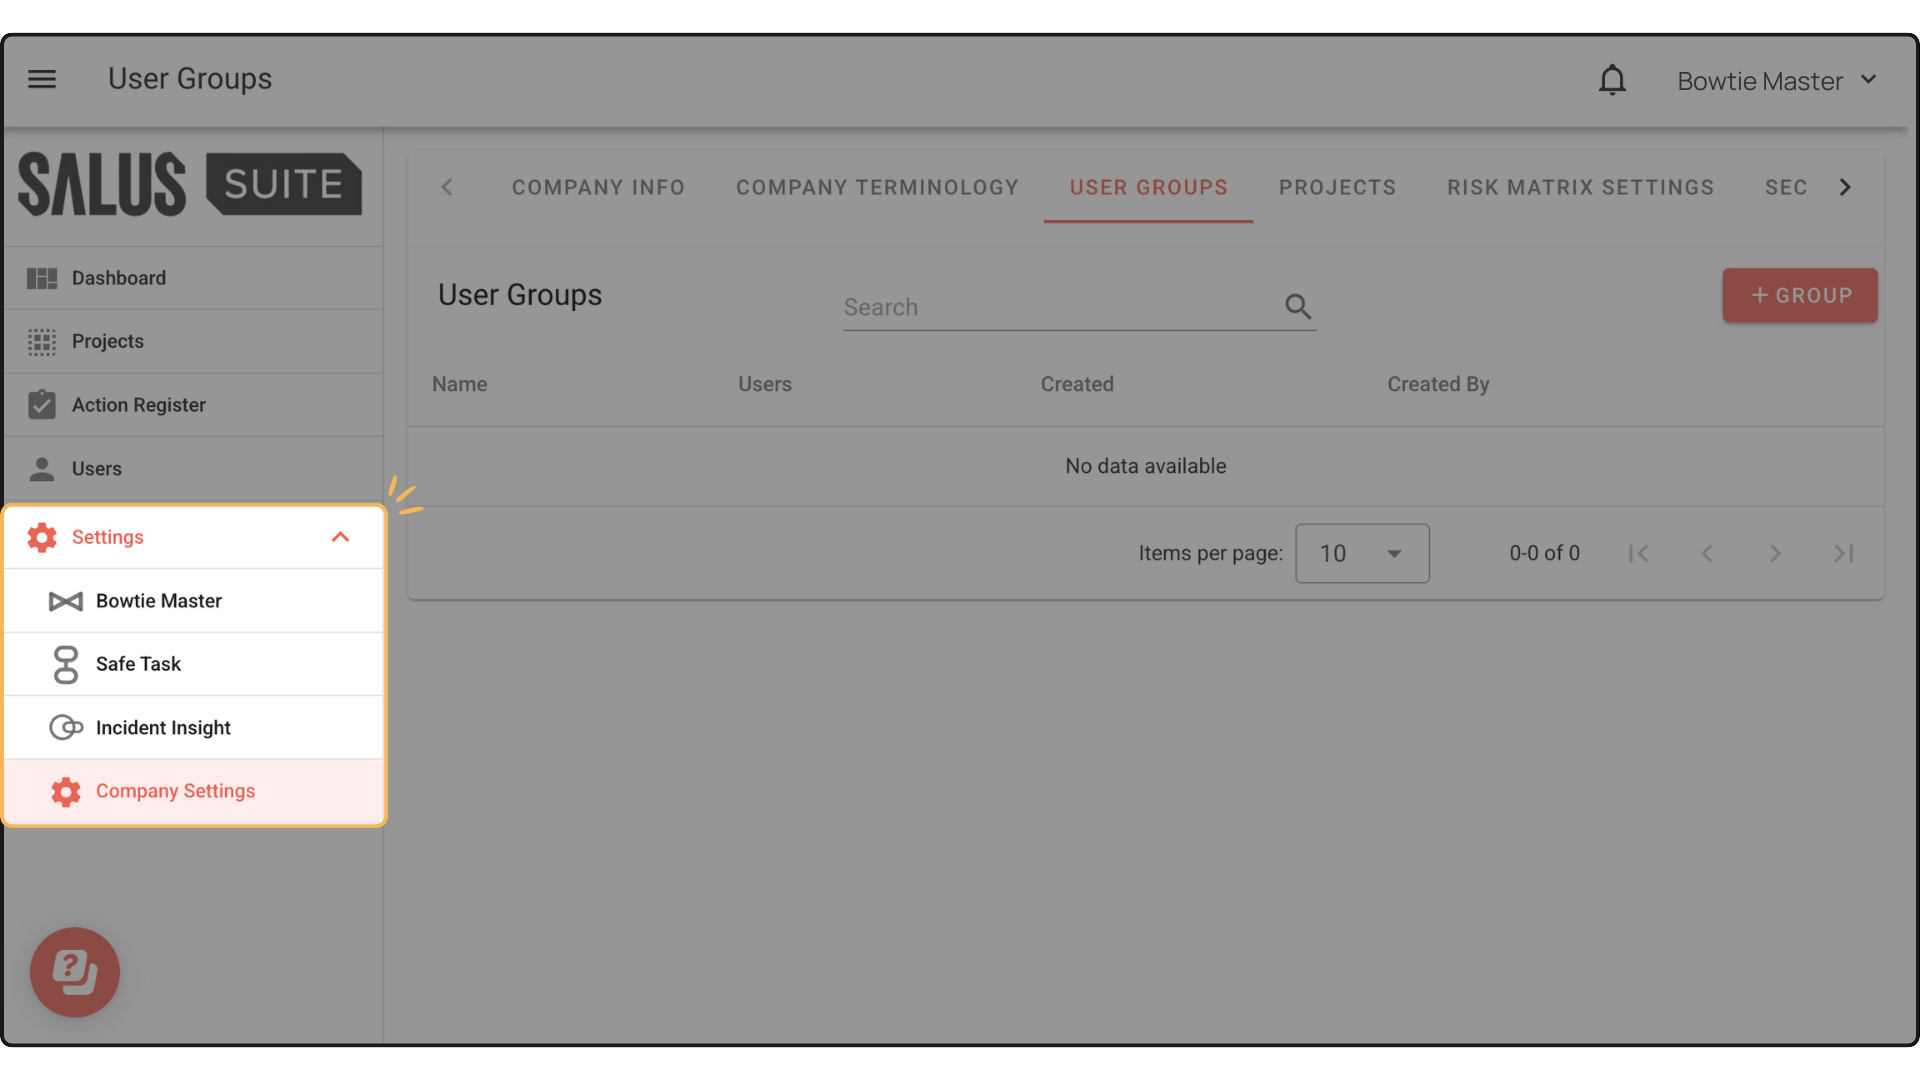
Step 1: On the left-side panel, click Settings > Company Settings.
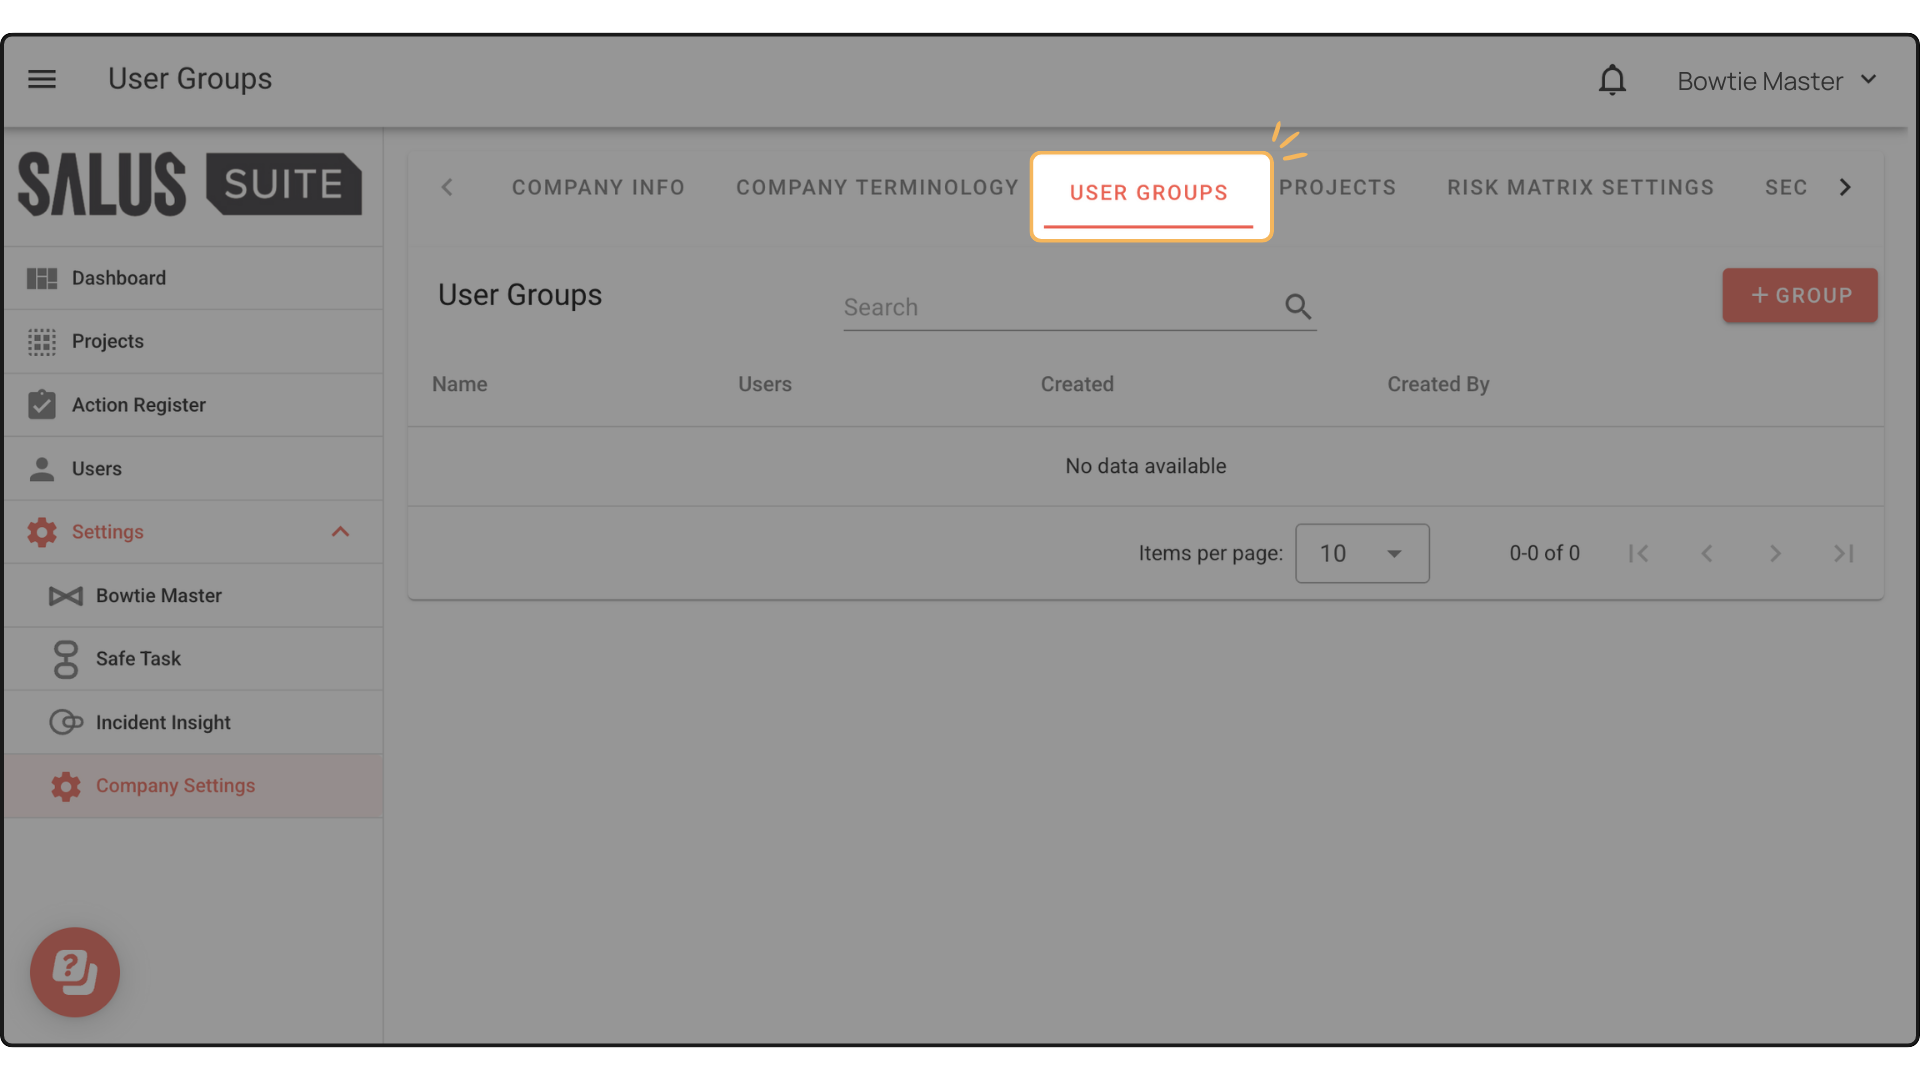
Step 2: Go to User Groups Menu.
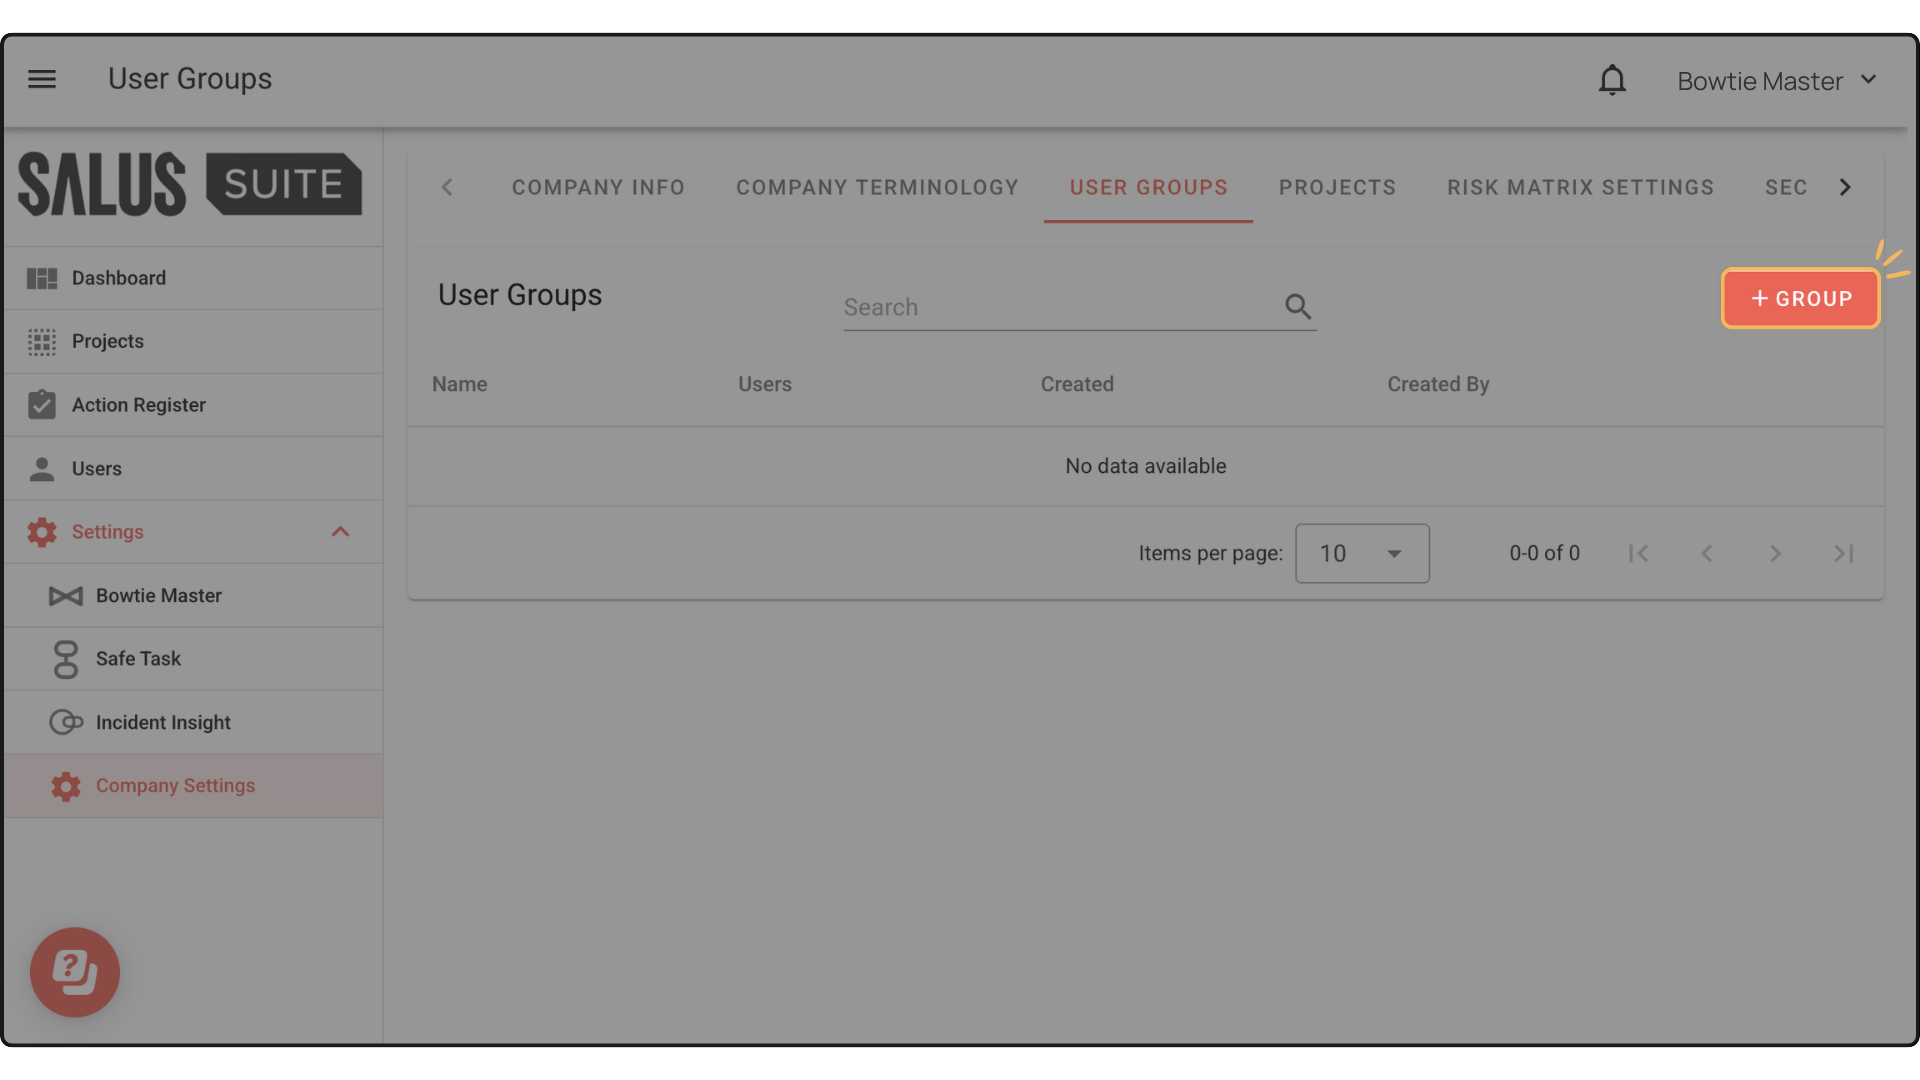
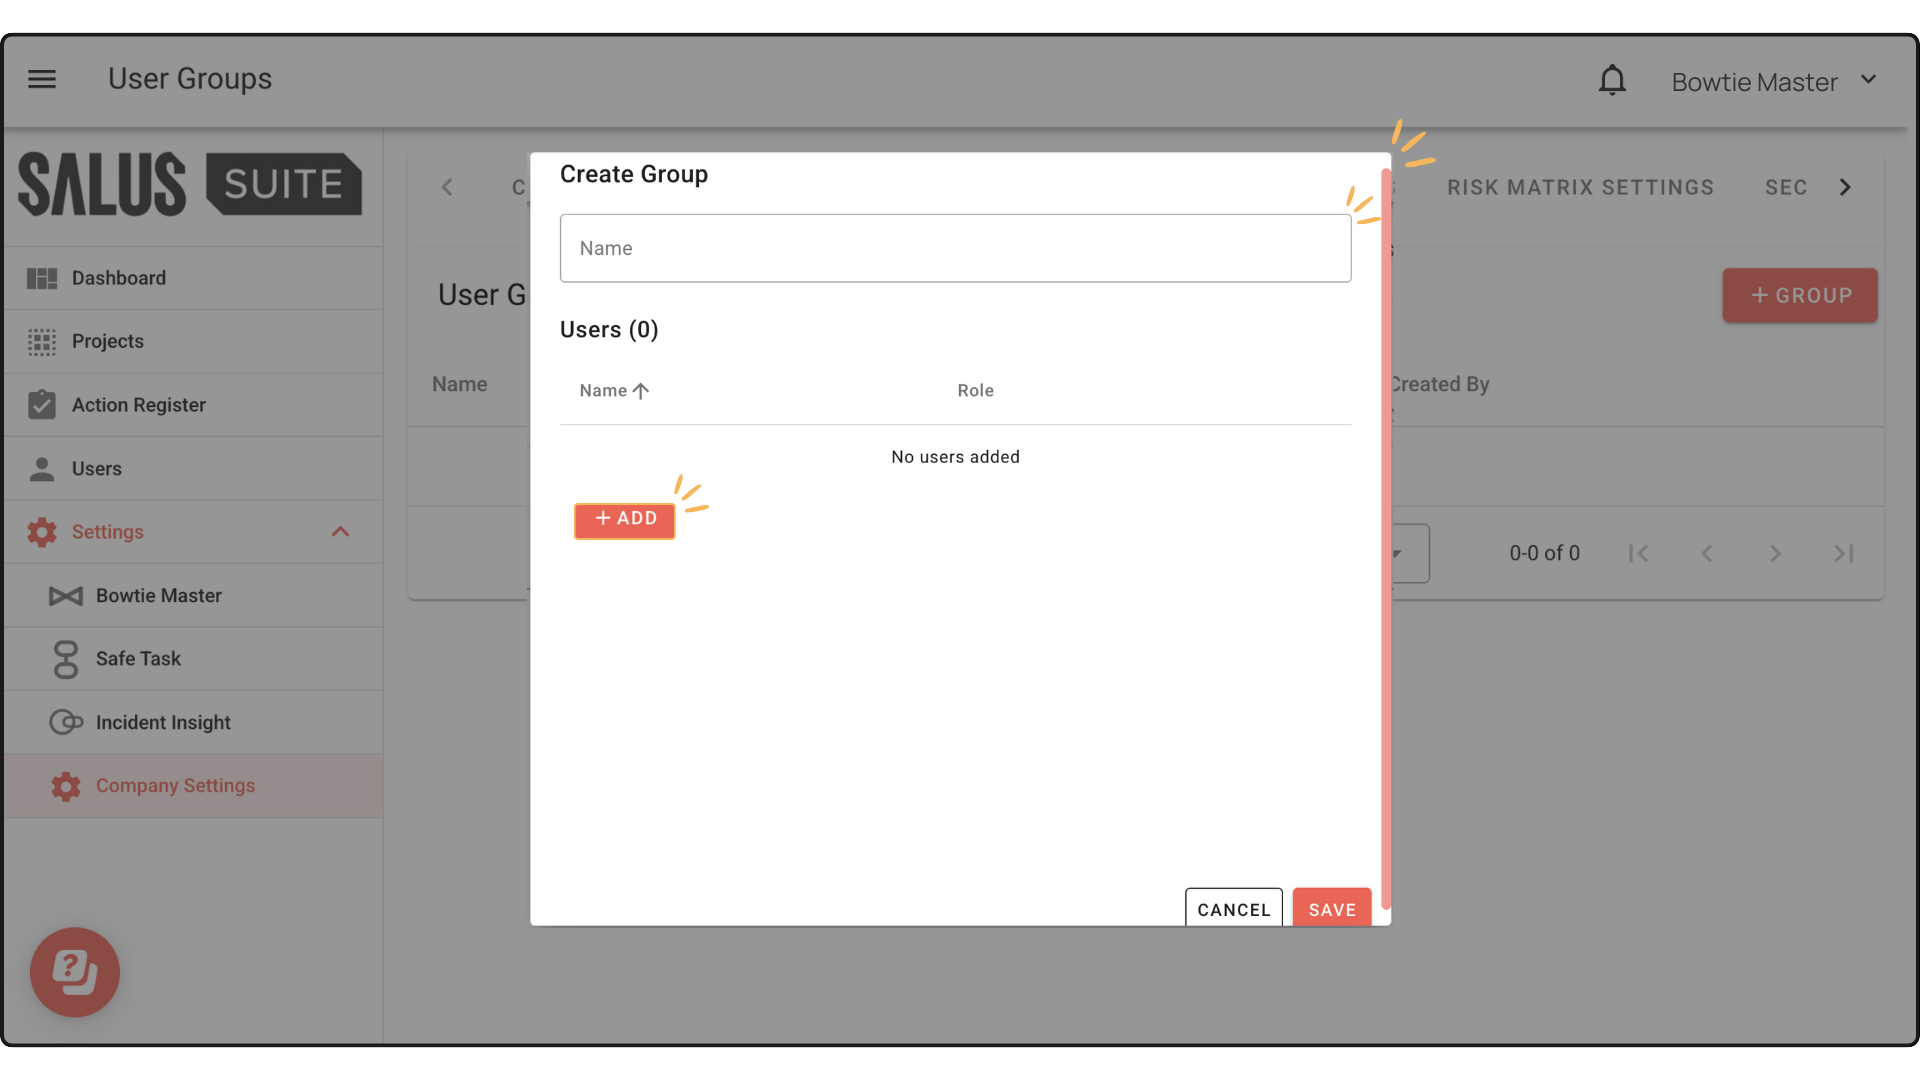
Step 3: Click + Group.
Step 4: In the pop-up, enter a Group Name. Then, click on +Add to add users to the group.
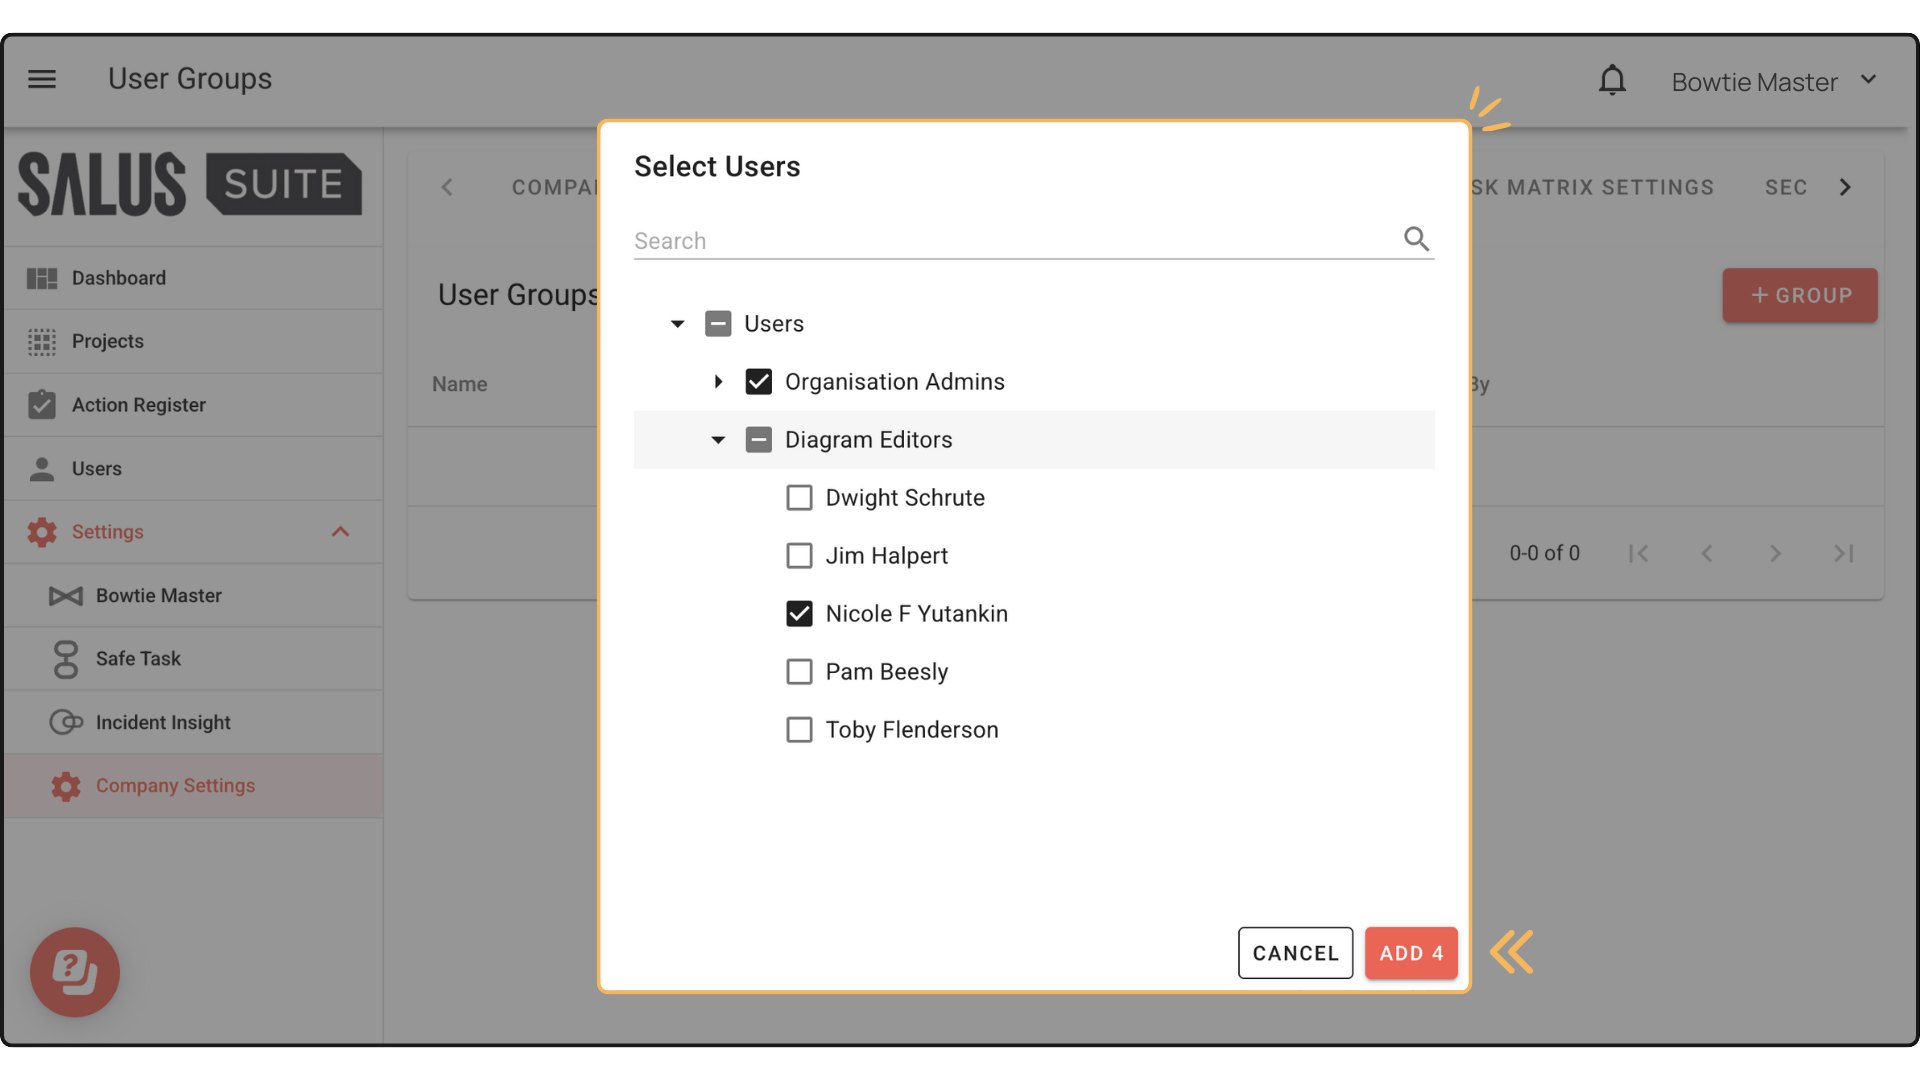
Step 5: In the Select Users pop-up, select the Users you wish to add to the group. Click Add. Users are organised by role and can be selected from the dropdown. You can also search for a user in the top search bar by name.
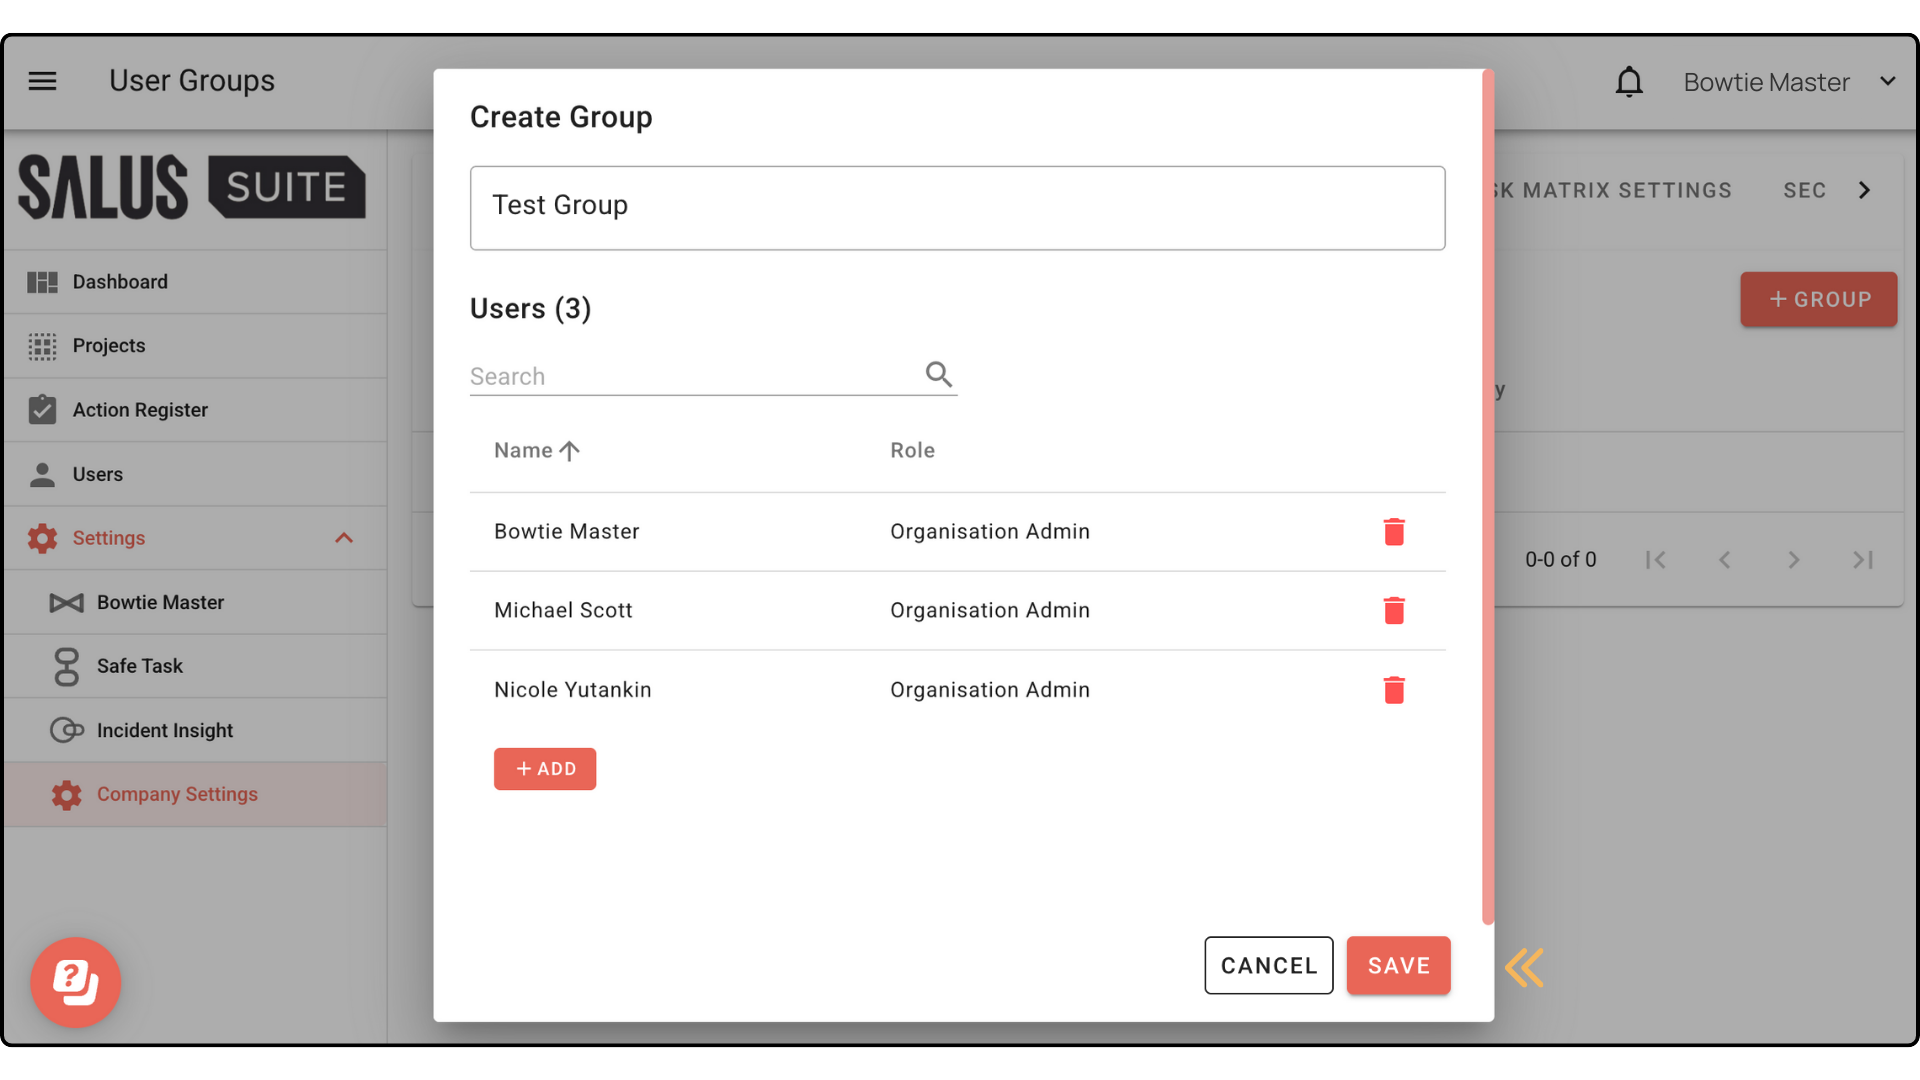
Step 6: The selected users and their user role will now appear in the group you have created. Click Save.
User Role Priority
If you would like a user belonging to a user group to have different access to the group’s default, you can assign them individual permissions within the project. For example, Nicole F. Yutankin has been assigned as a diagram editor within the software, she is a member of the “Test Group,” which only has Viewer access to the Dinosaur Park Project.
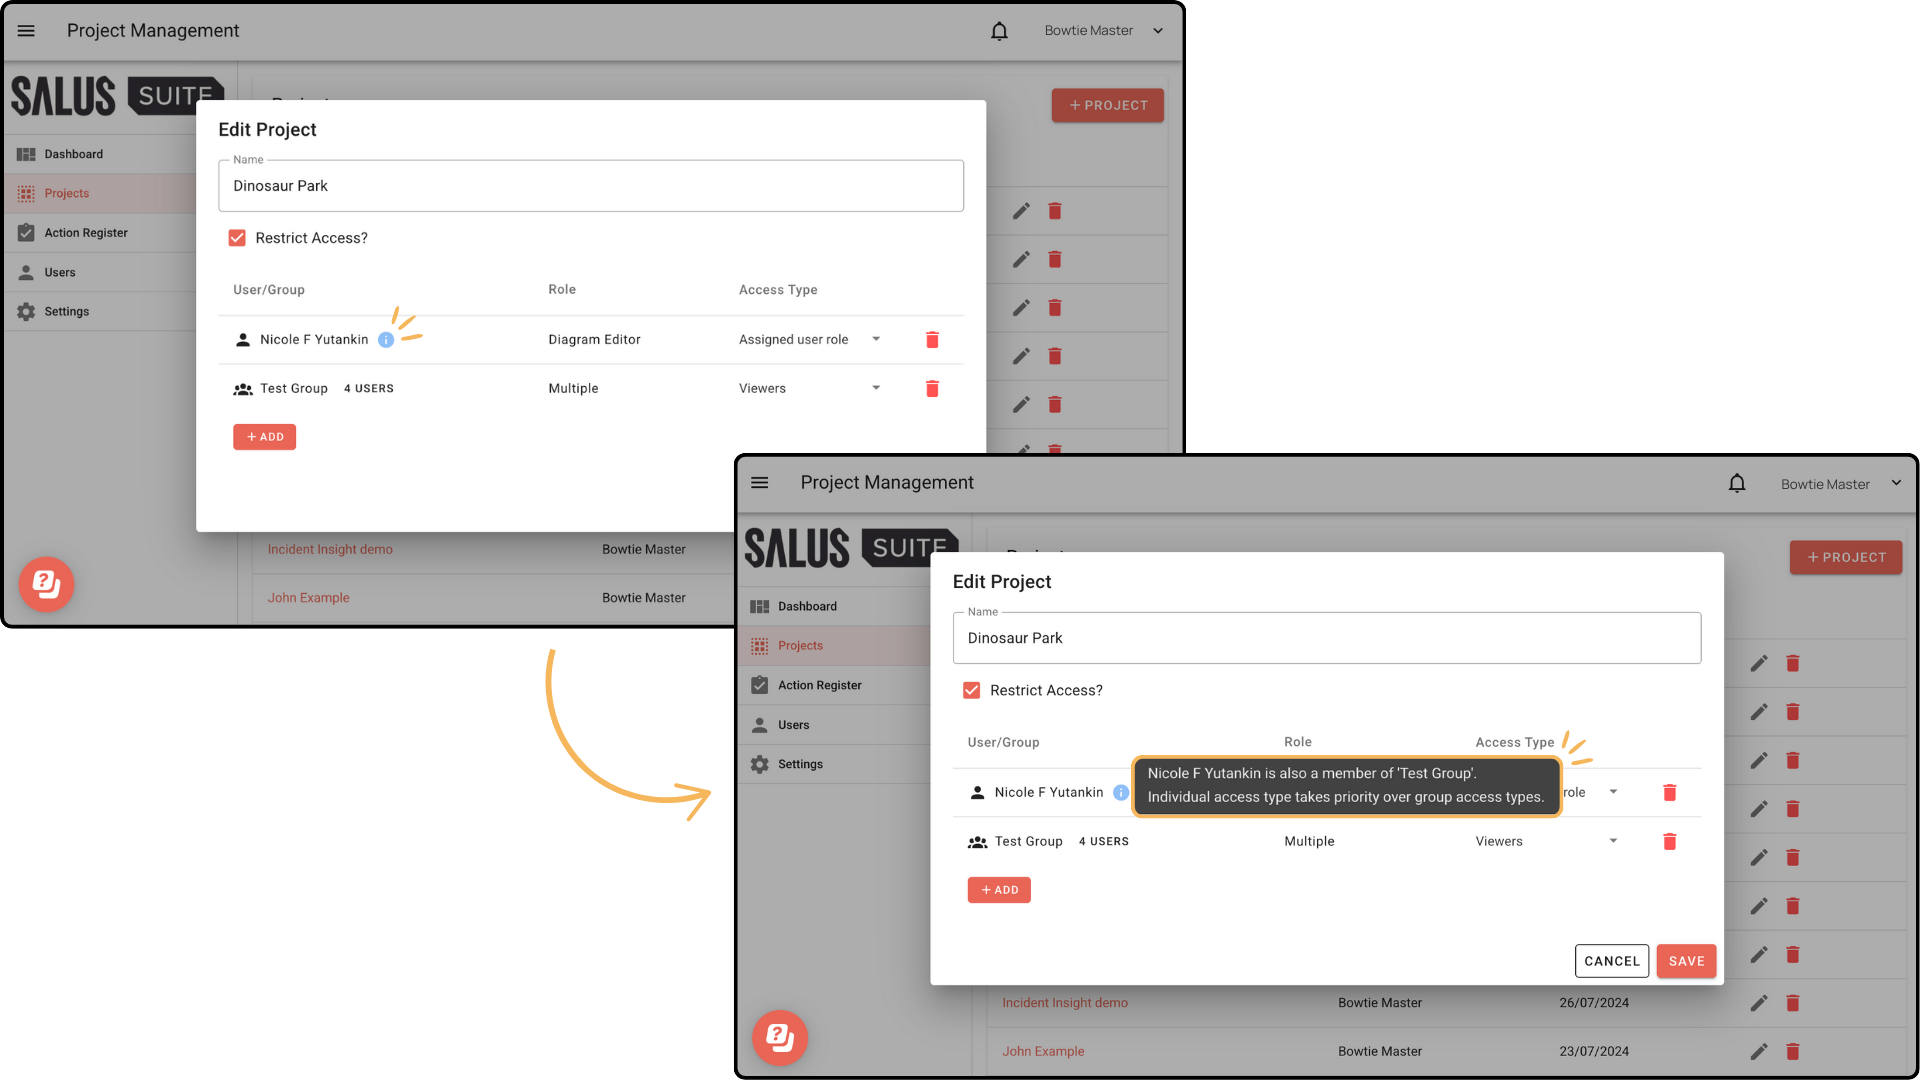
To give Nicole her assigned access role instead, go to Add > User, then select Nicole F, adding her to the project as a user outside the group. From here, individual access takes priority over group access.
How does it work if a user is in a group and then assigned individually? The individual access takes priority.
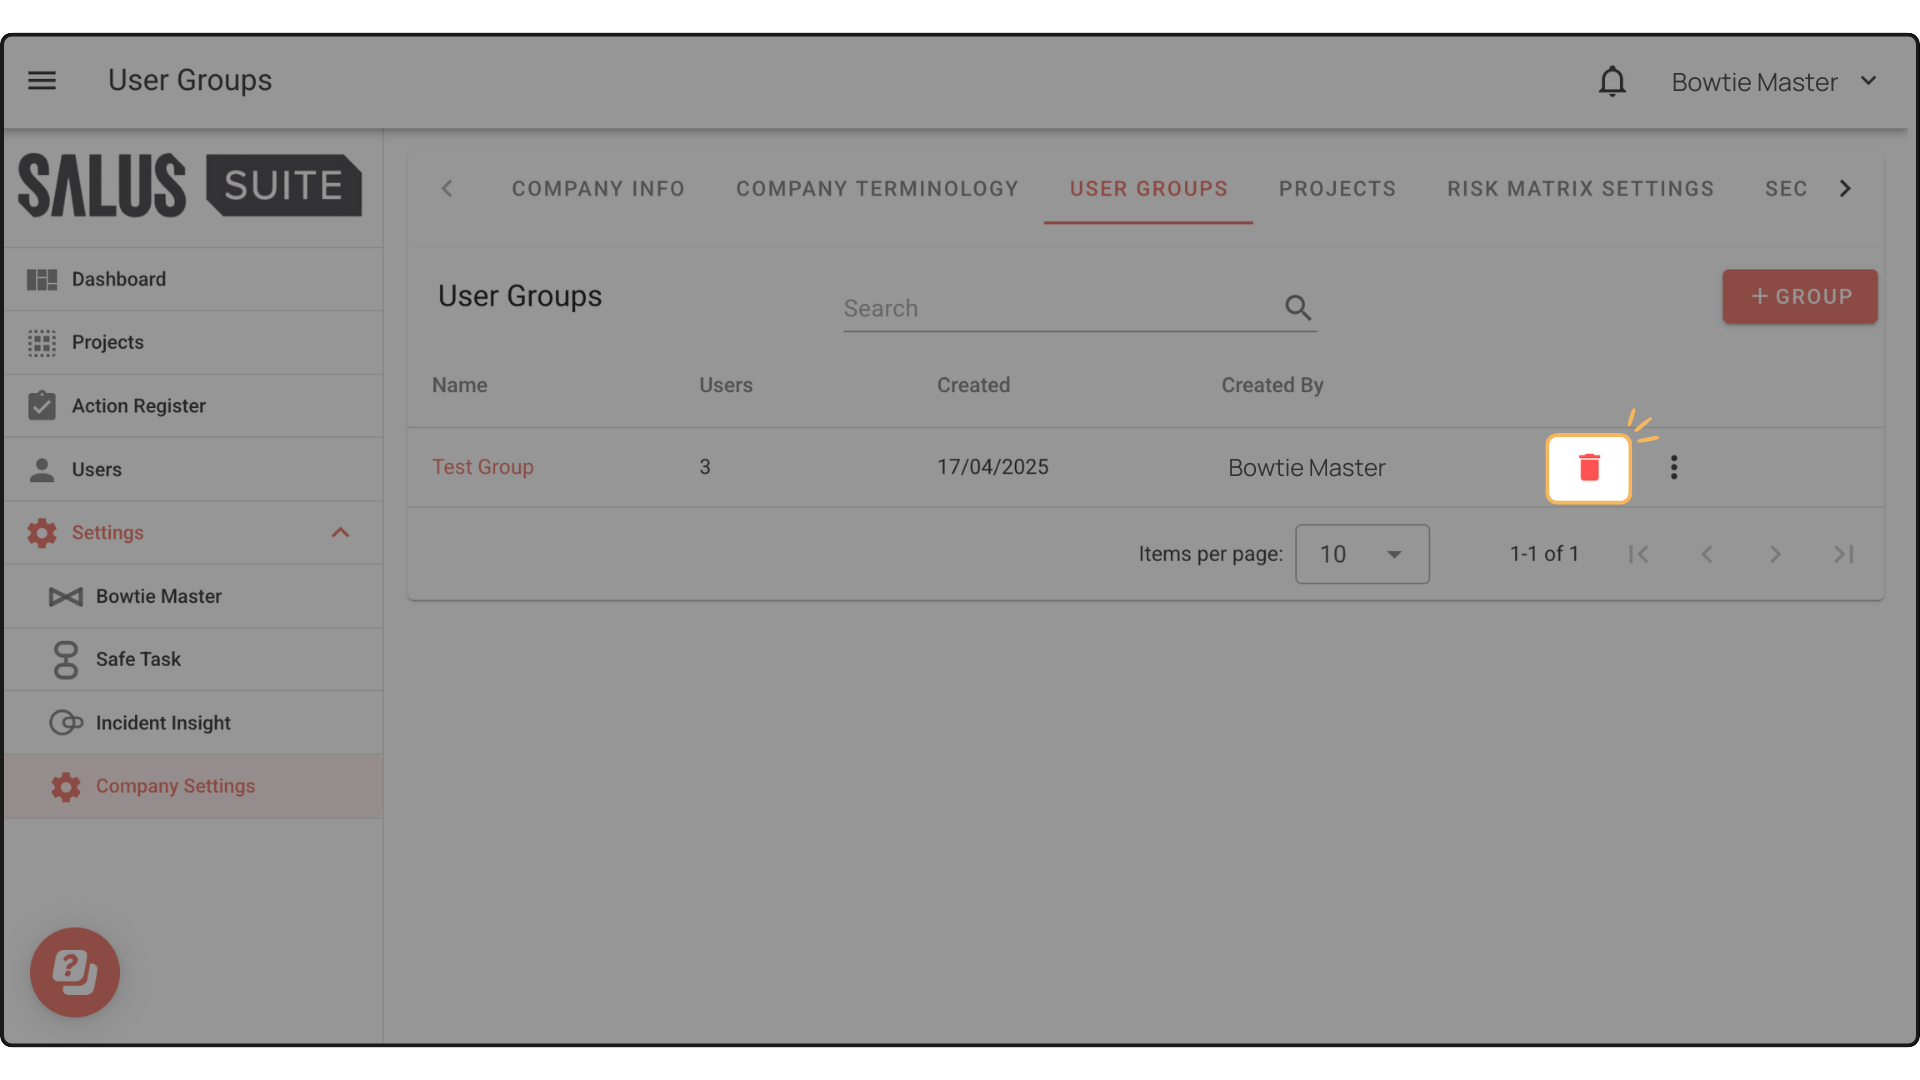
Delete a Group
Step 1: In the User Groups menu, click the Bin icon to delete a group.
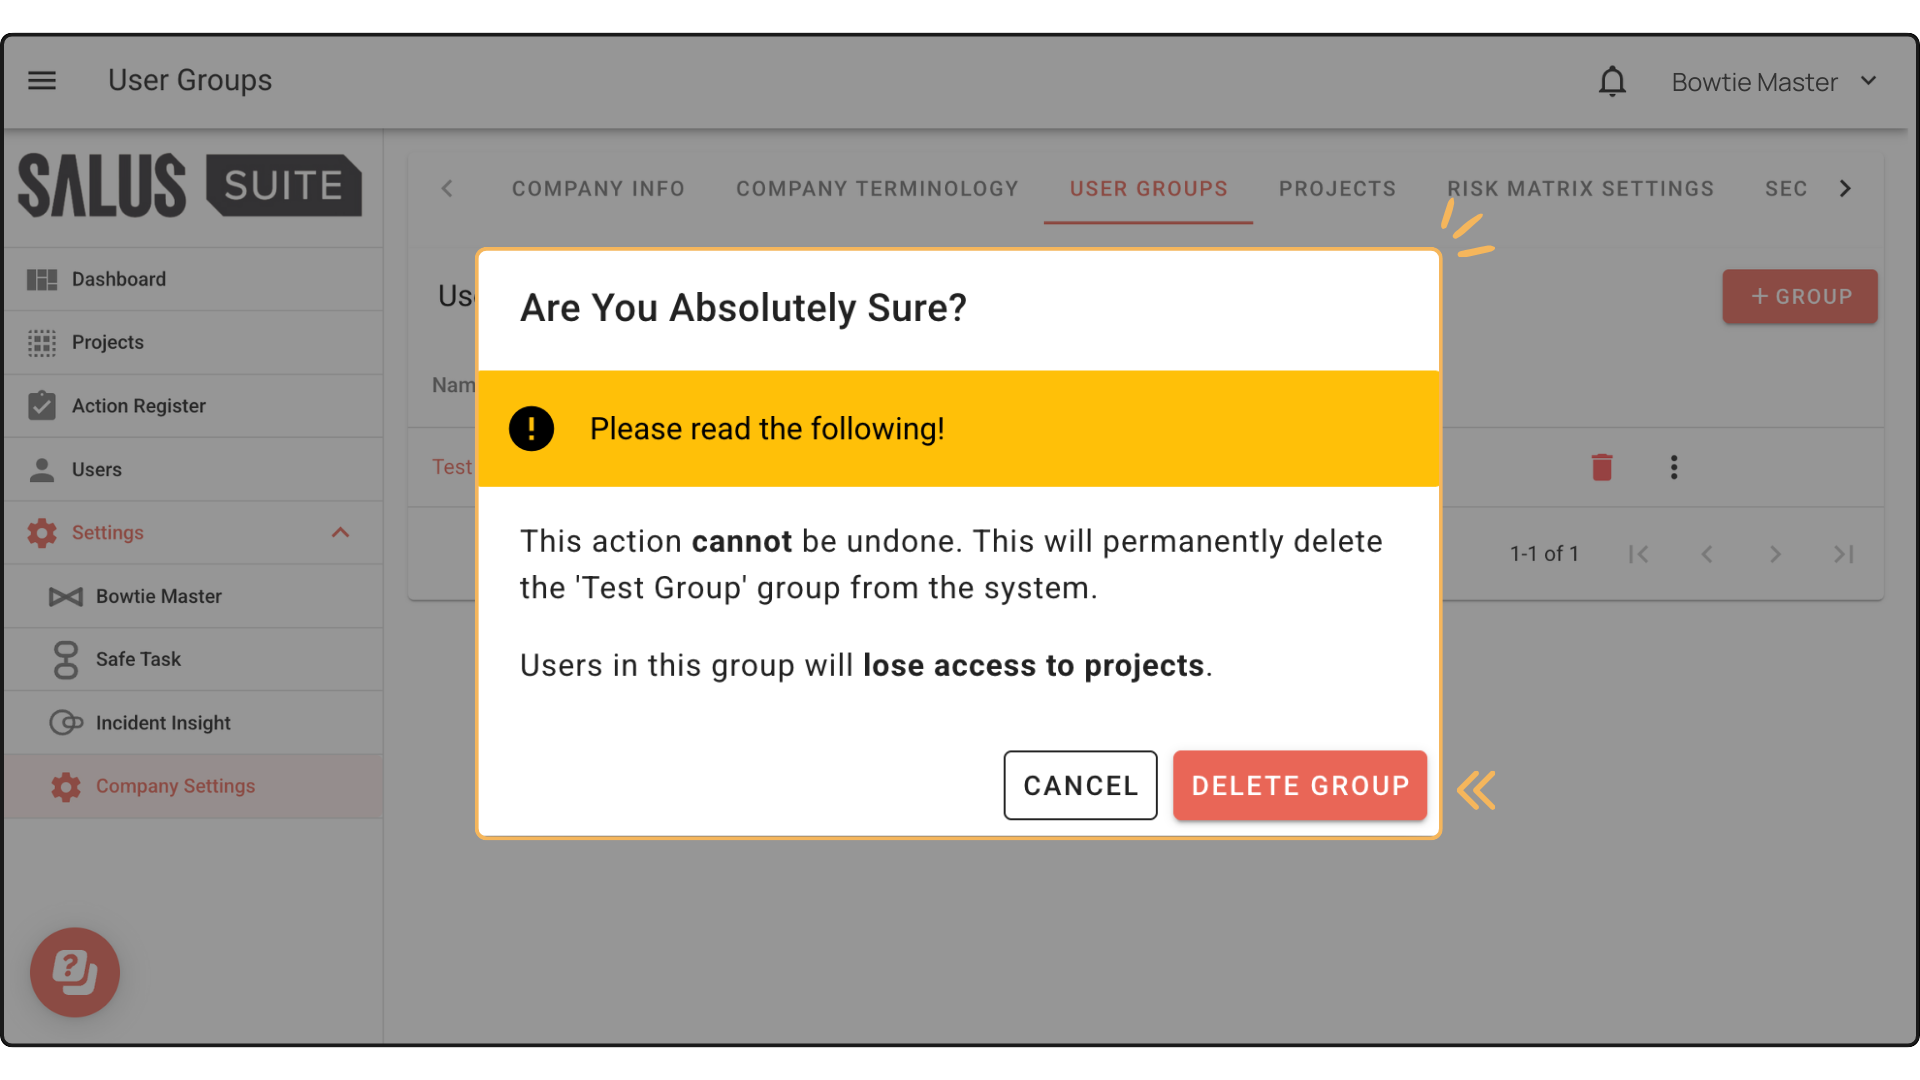
Step 2: A warning message will appear. Click Delete Group.
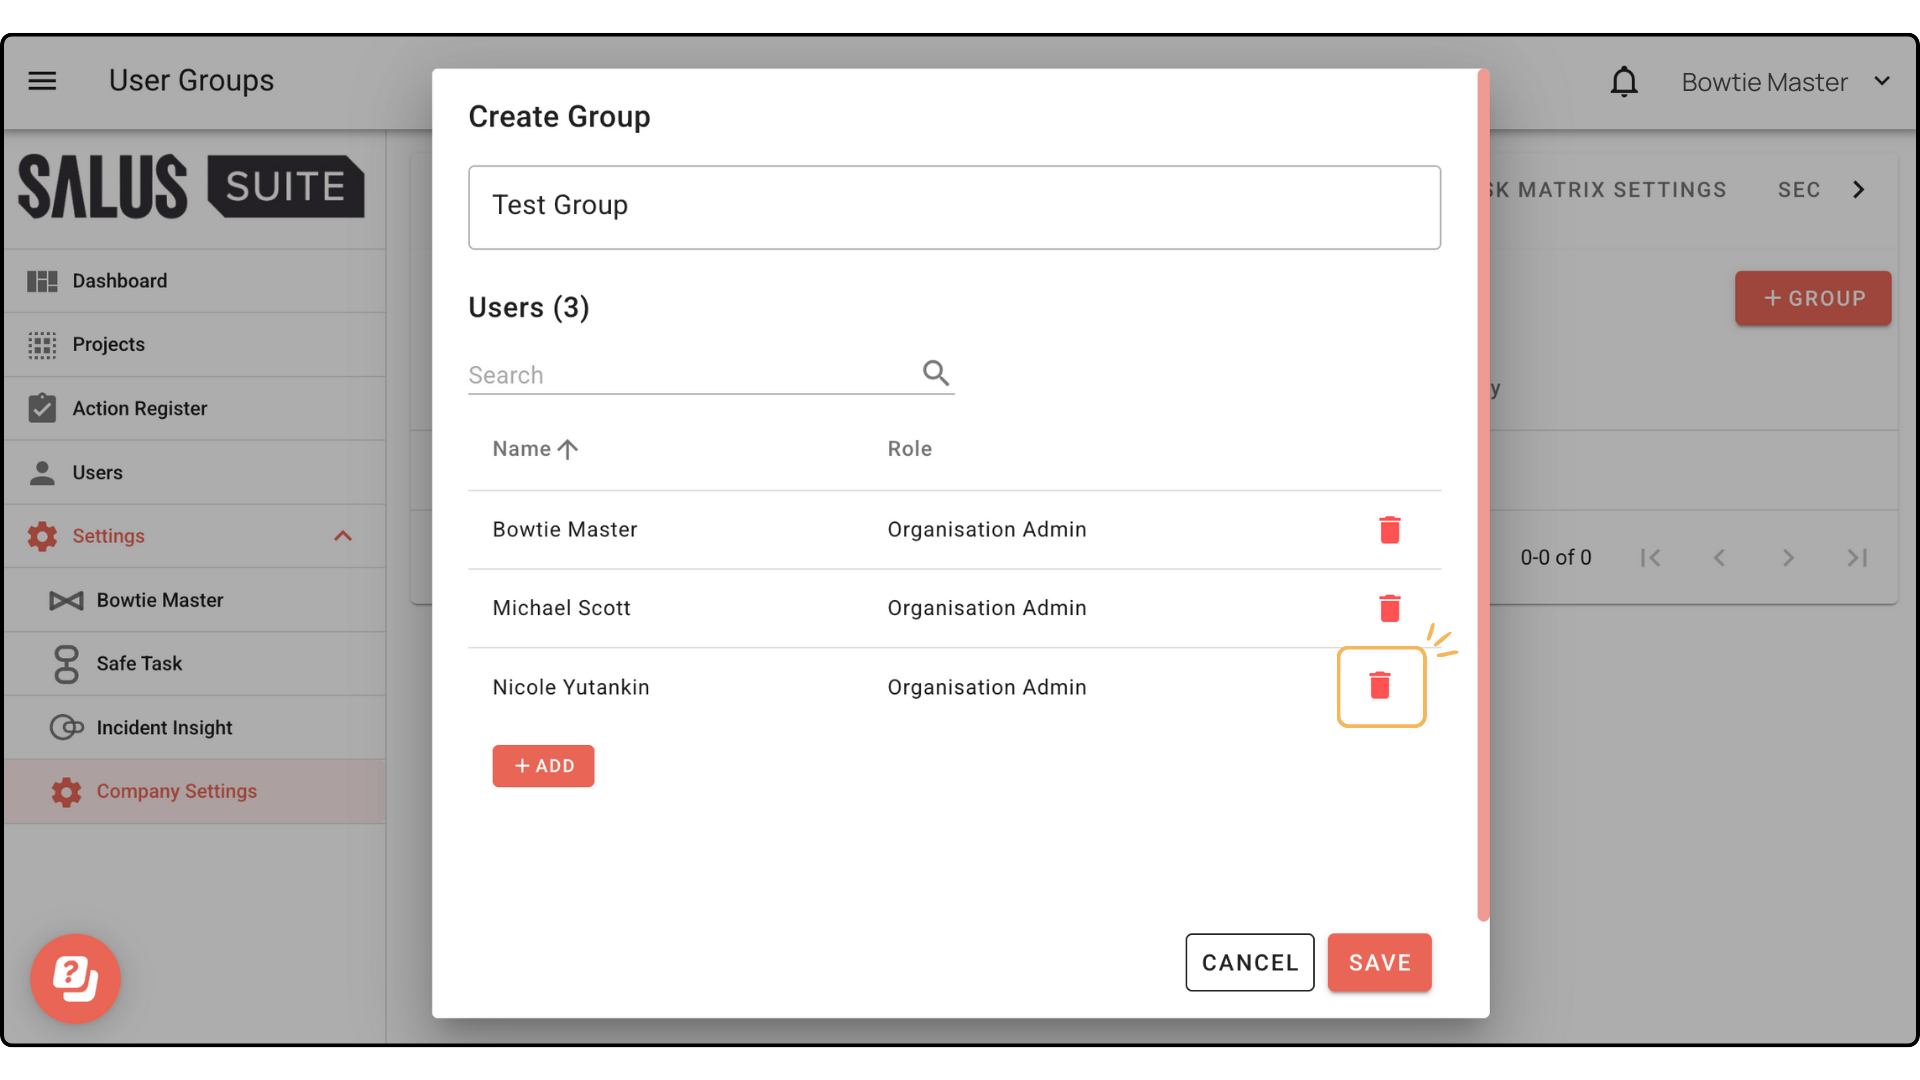
Remove a User
Step 1: In the User Groups menu, select a group you have created.
Step 2: Click the Bin icon beside the User to remove a user. The user will automatically be removed from the group.
Restrict group access to a project
Add groups to specific projects and change their access type to (viewer) or to match their (assigned user role).
*Note: Diagram Editors can add user groups to projects.
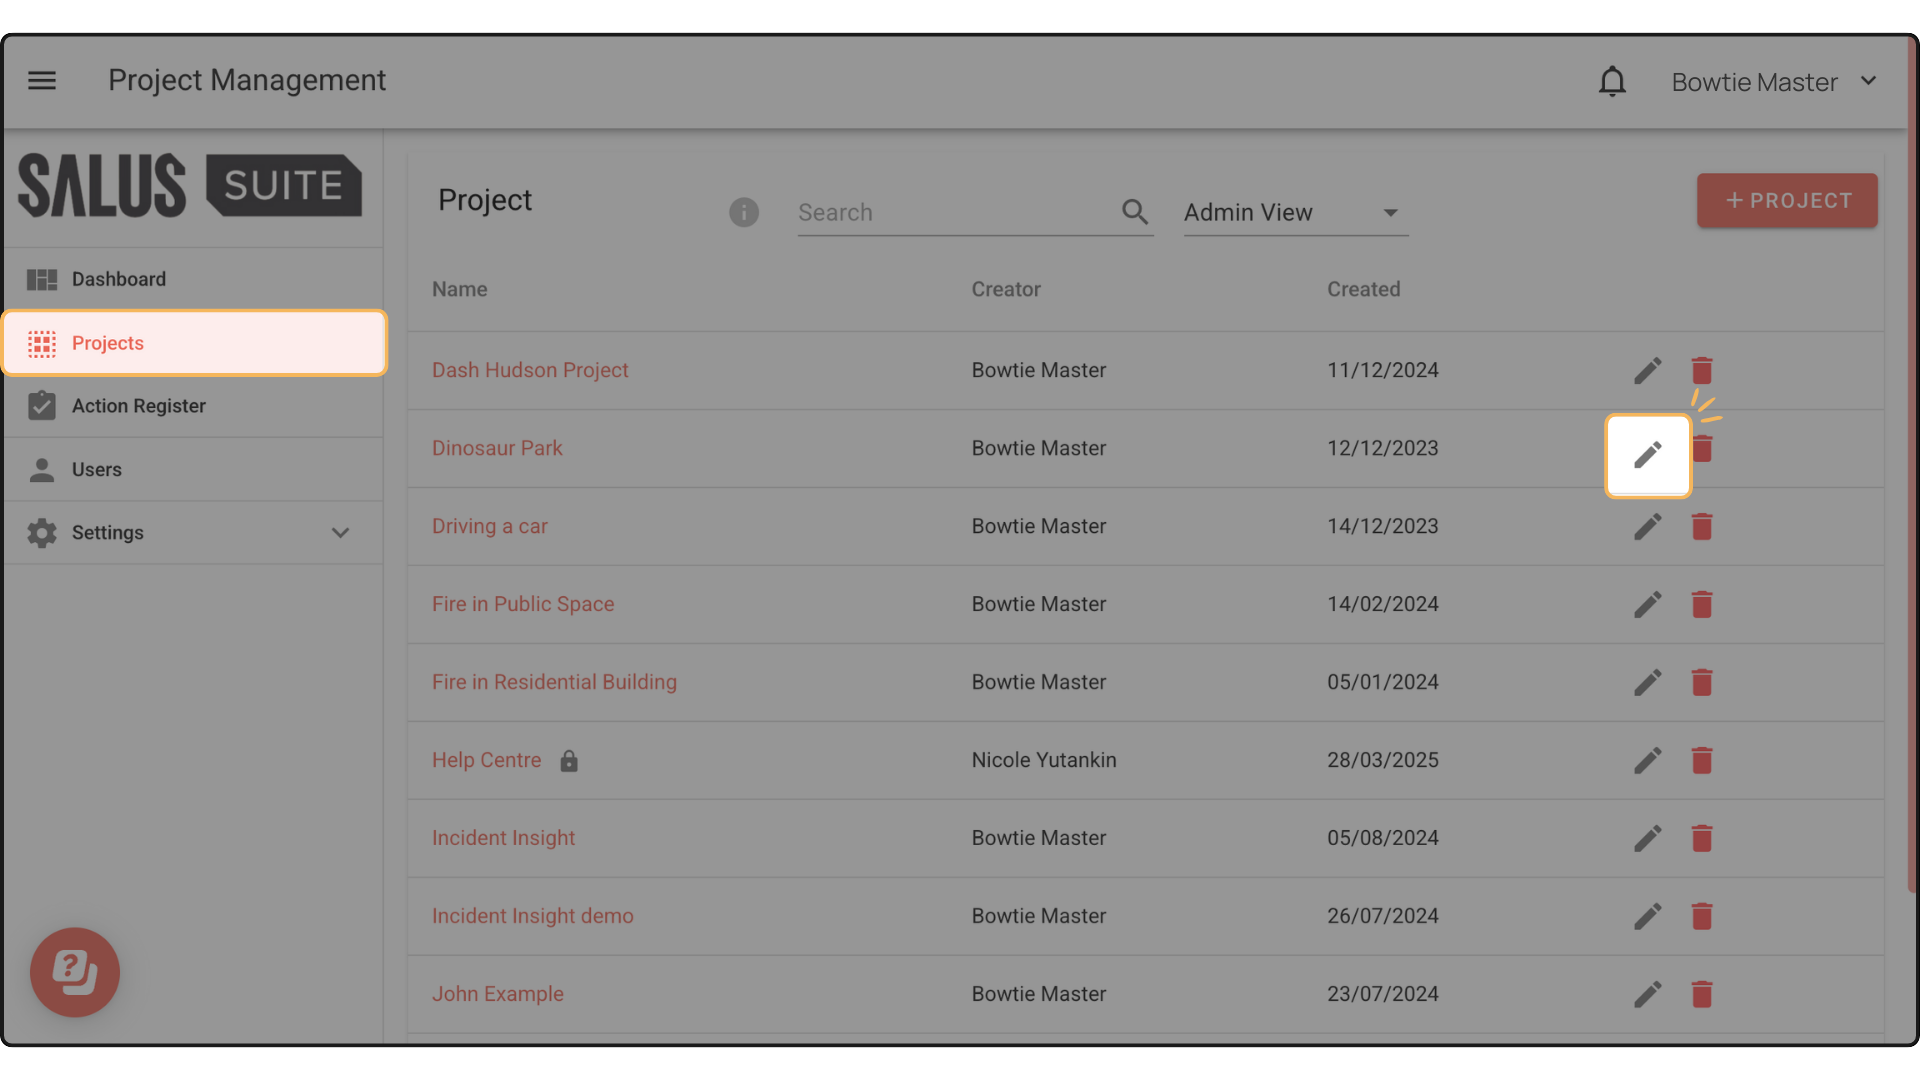
Step 1: Head to the Projects menu.
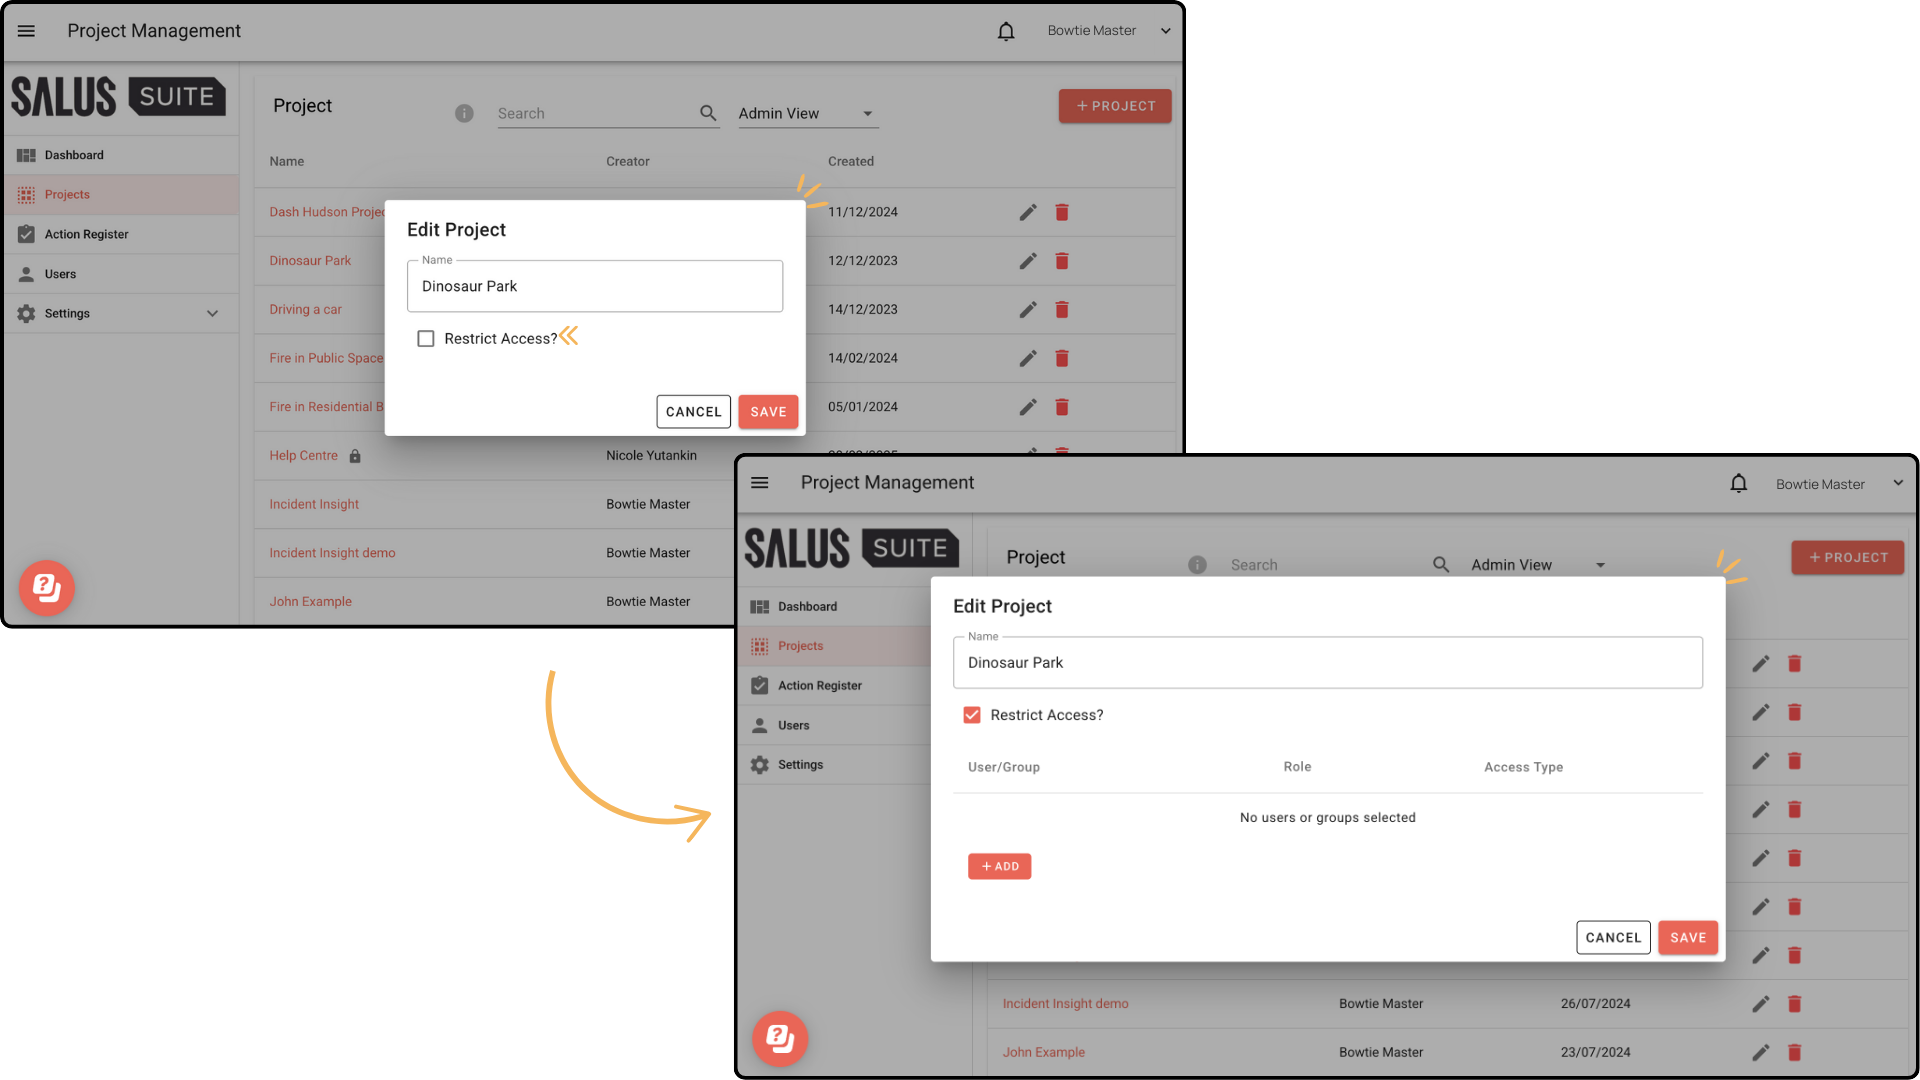
Step 2: Click Edit Project beside the project you wish to restrict.
Step 3: In the pop-up, tick Restrict Access. The pop-up will then update.
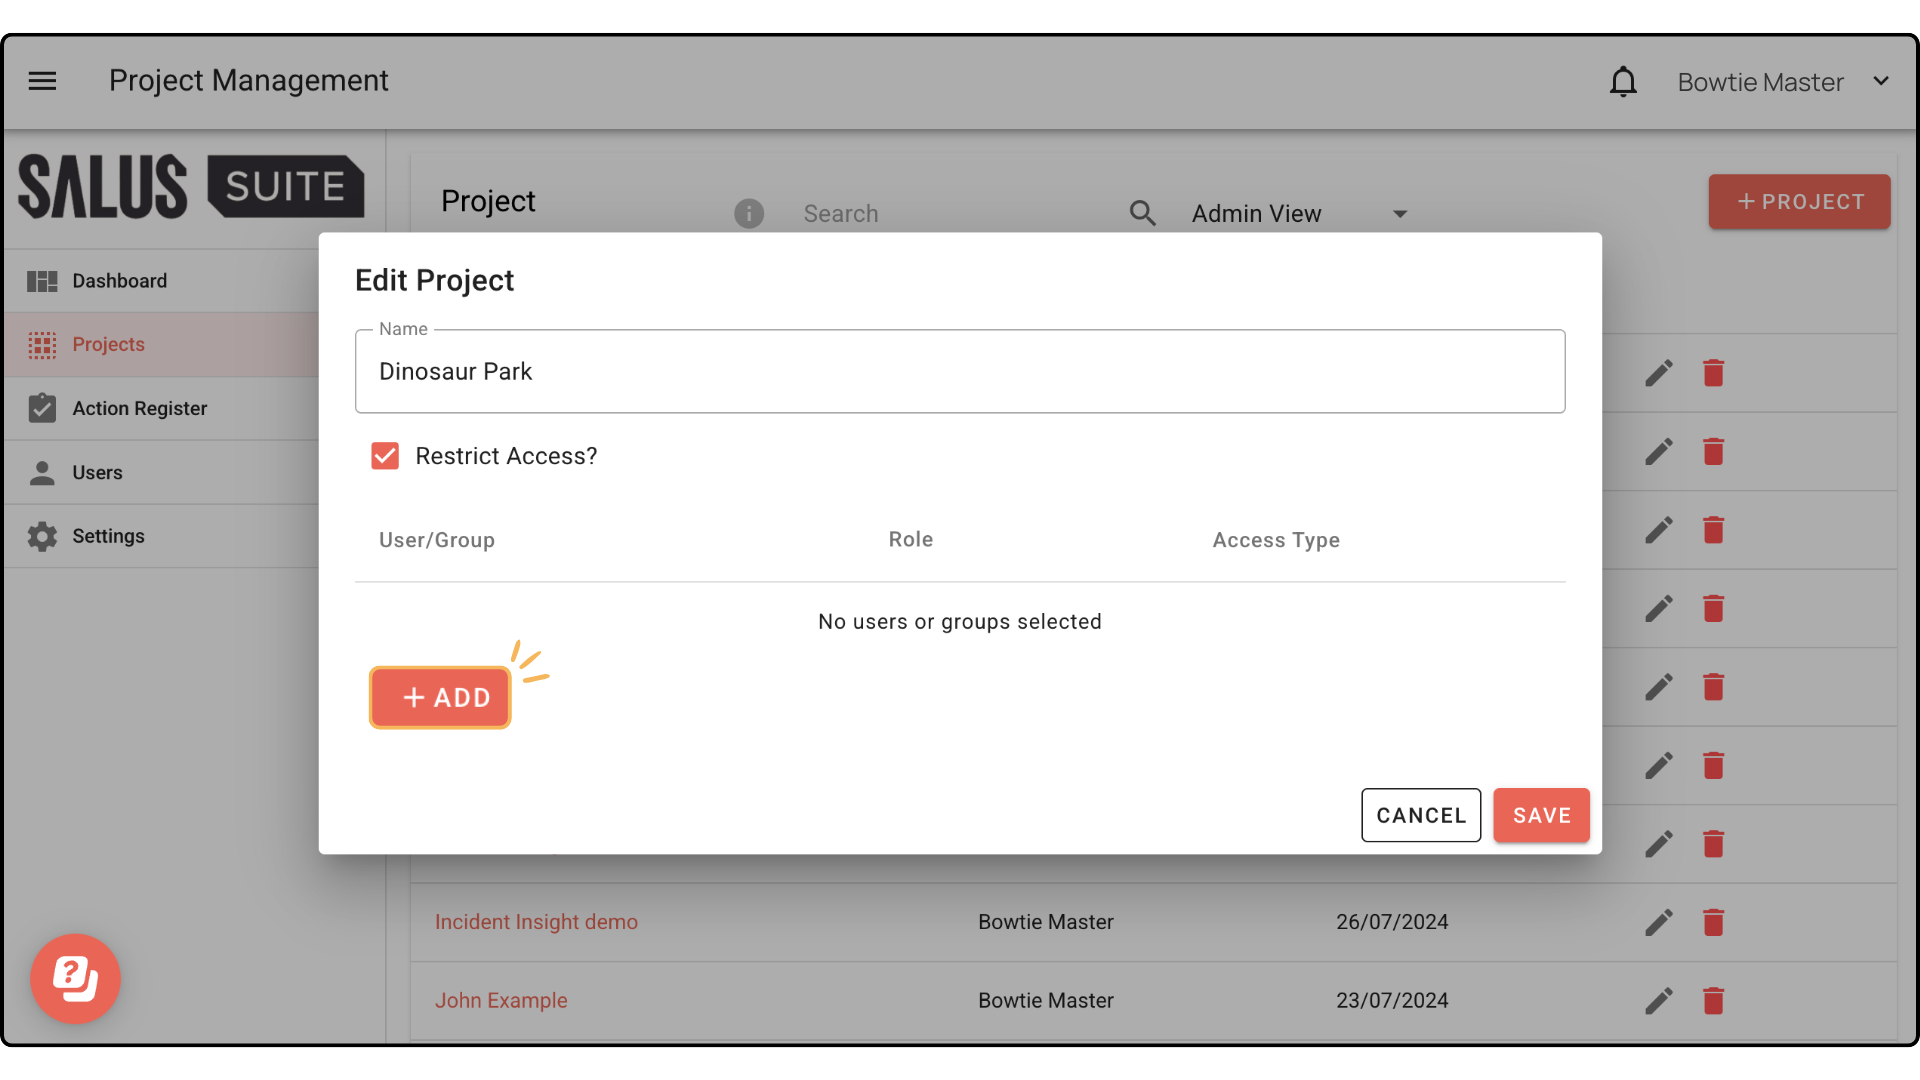
Step 4: Click Add.
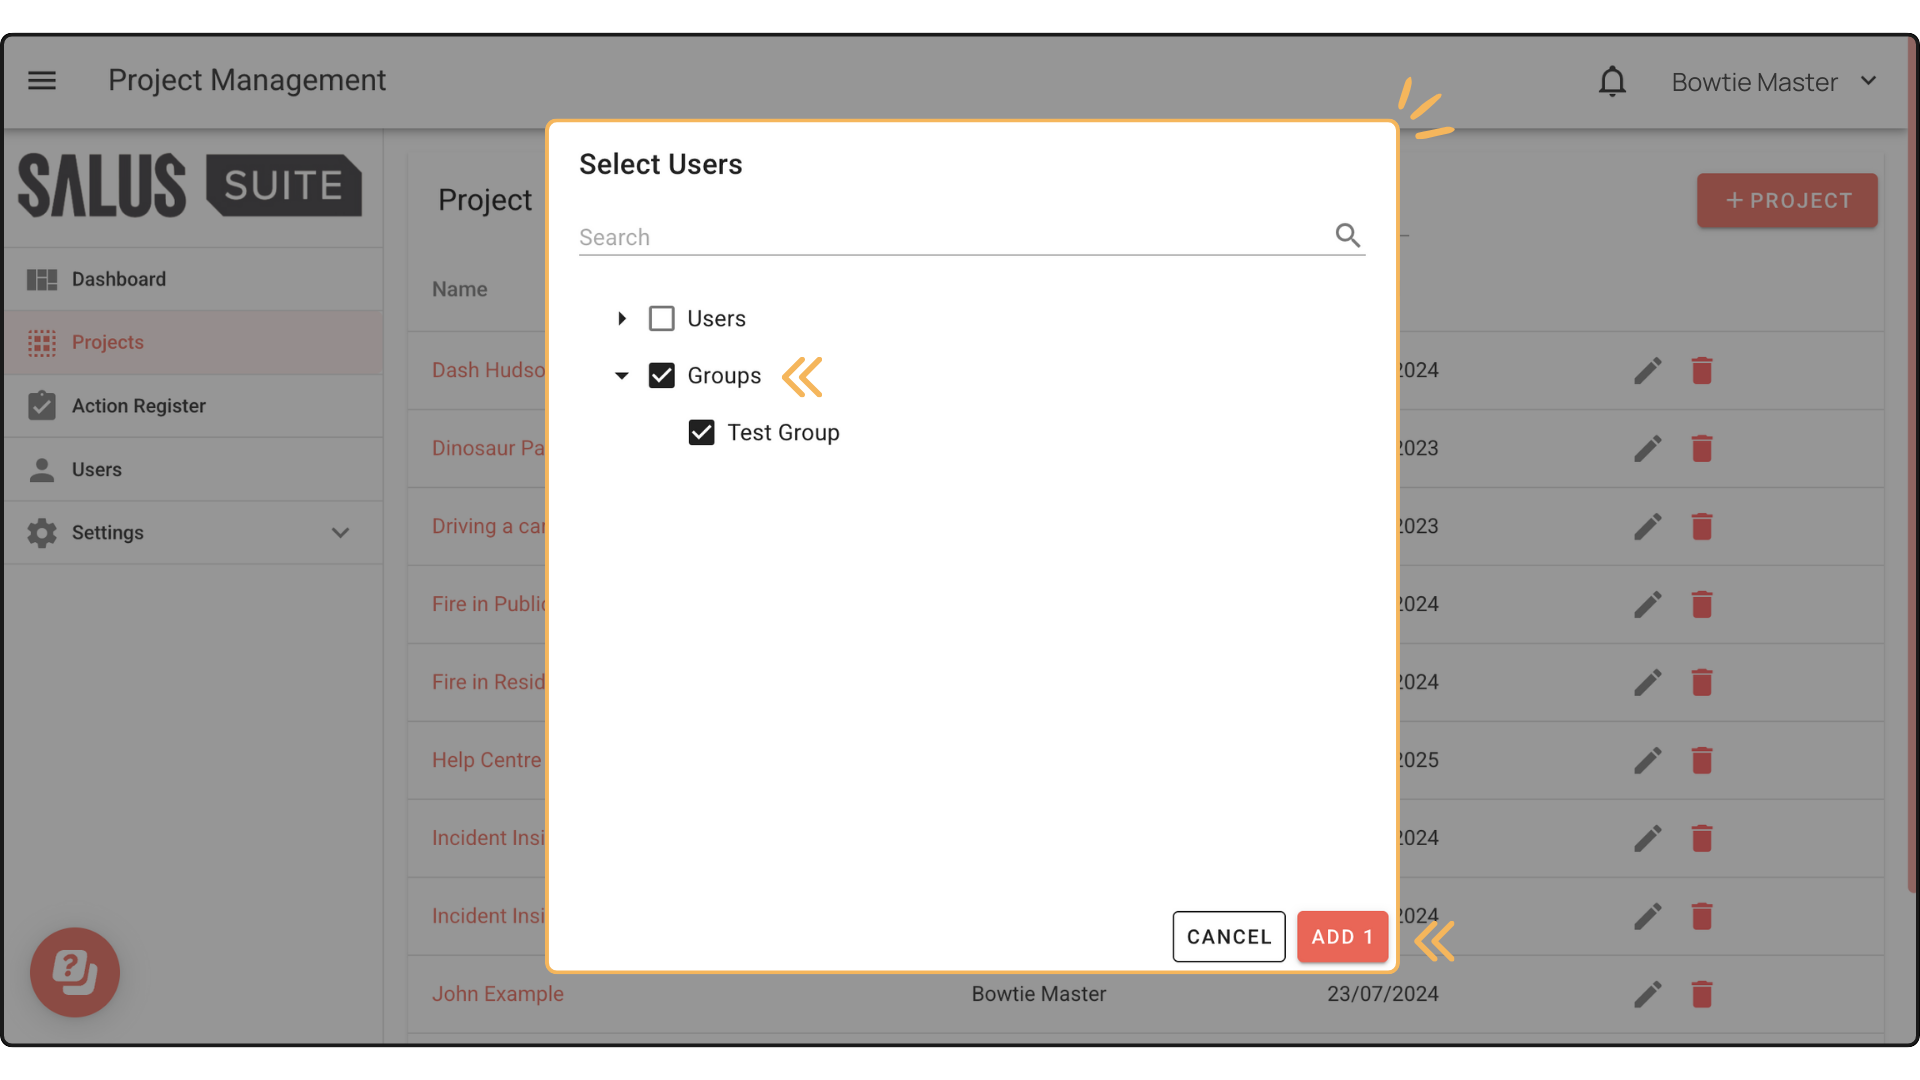
Step 5: In the pop-up, select the Group/s you wish to restrict the project to. Click Add #.
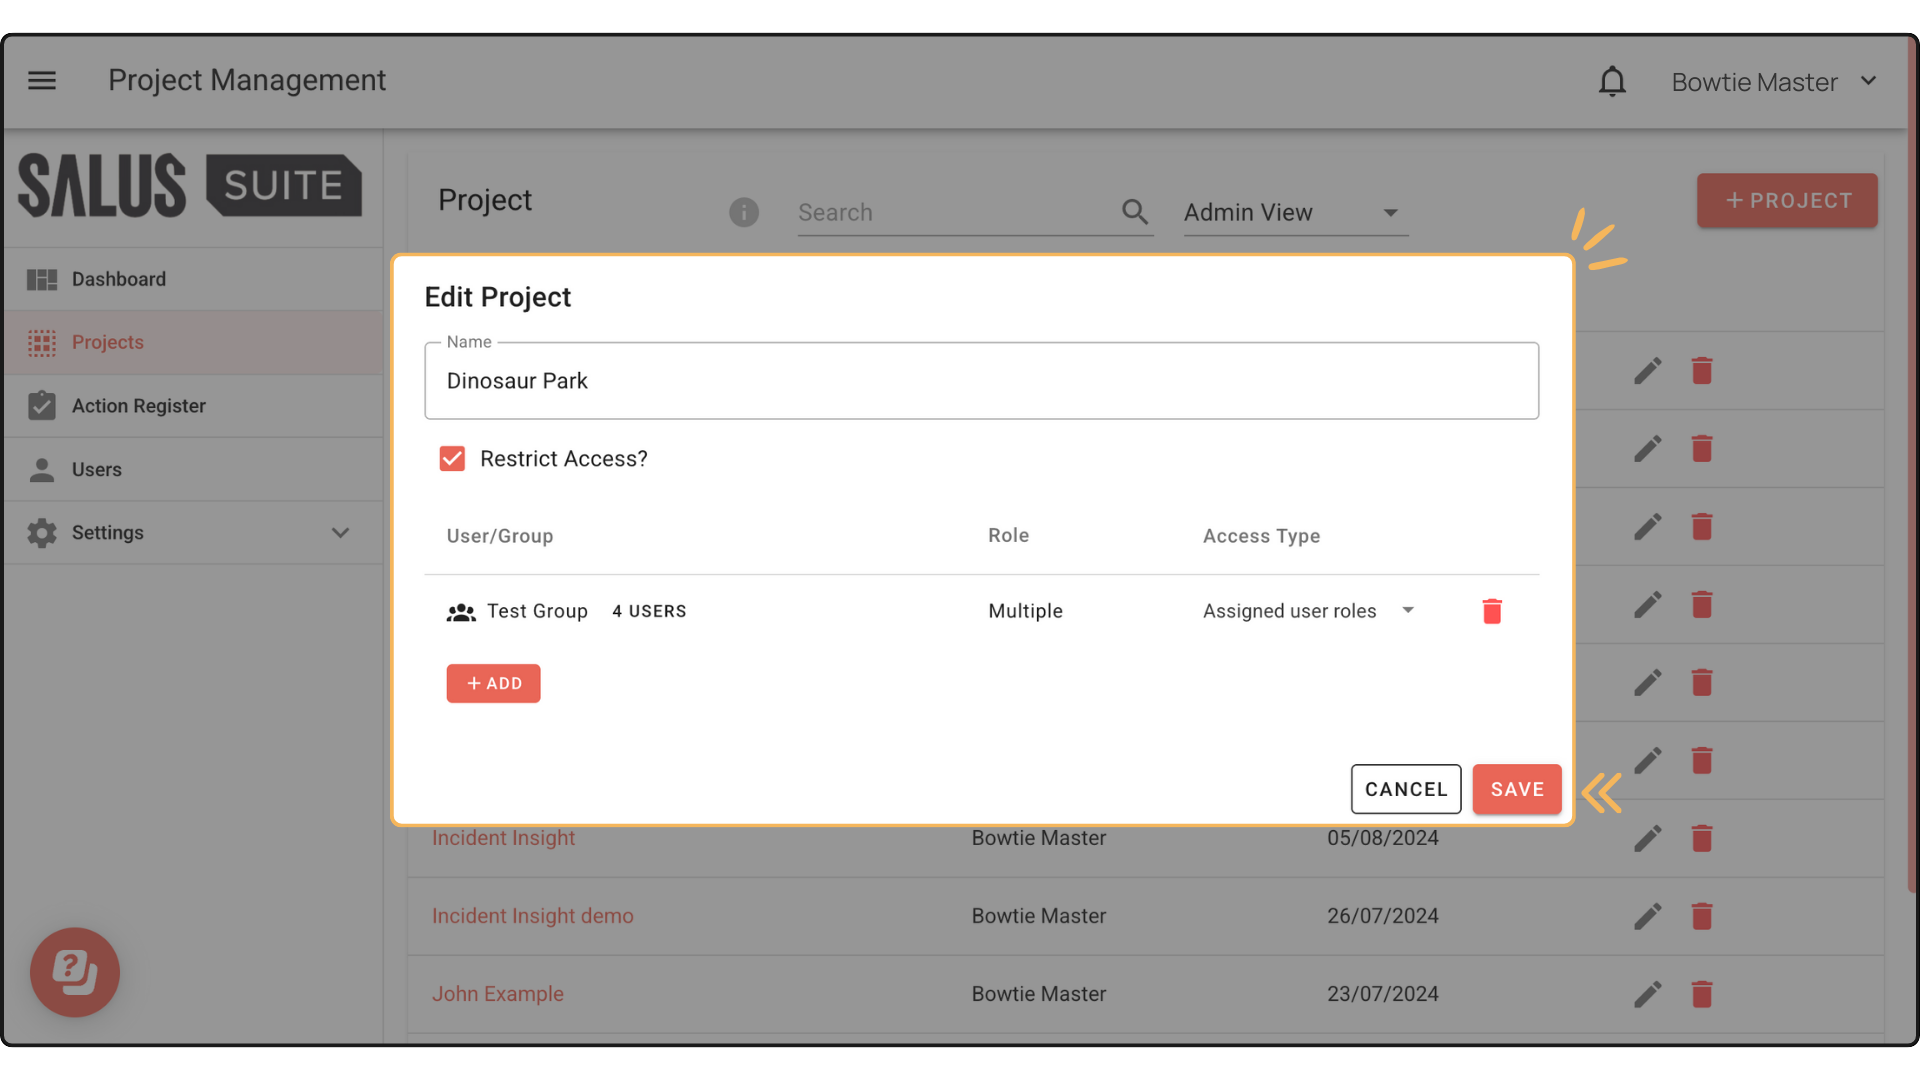
Step 6: The group will appear in the selected project. Click Save.
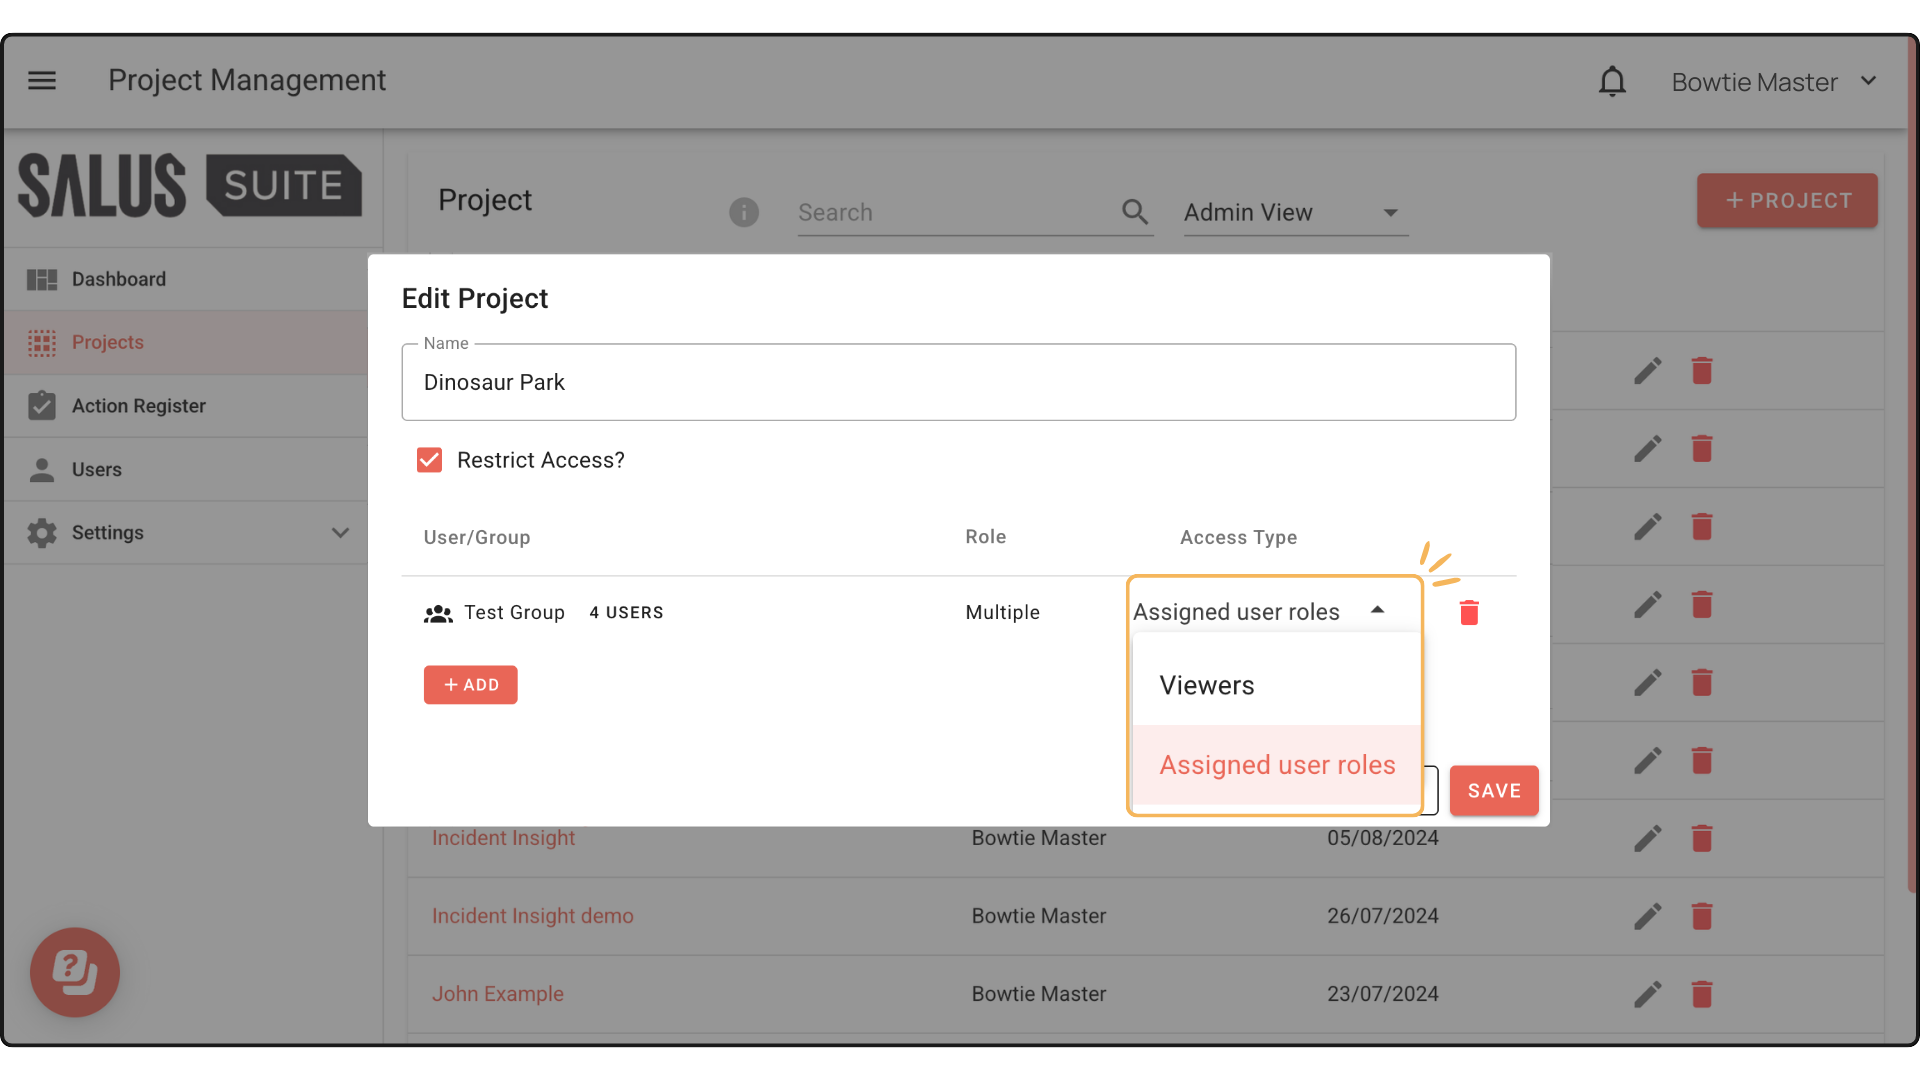
Change Access Type
Groups can be granted access to projects as Viewers or to match their Assigned User Roles.
Step 1: To change the access type of the group, click on Edit Project.
Step 2: Toggle the Access Type option and select which type you want for the group.
View Accessible Projects
Step 1: Go to Settings > Company Settings.
Step 2: Go to the User Groups menu.
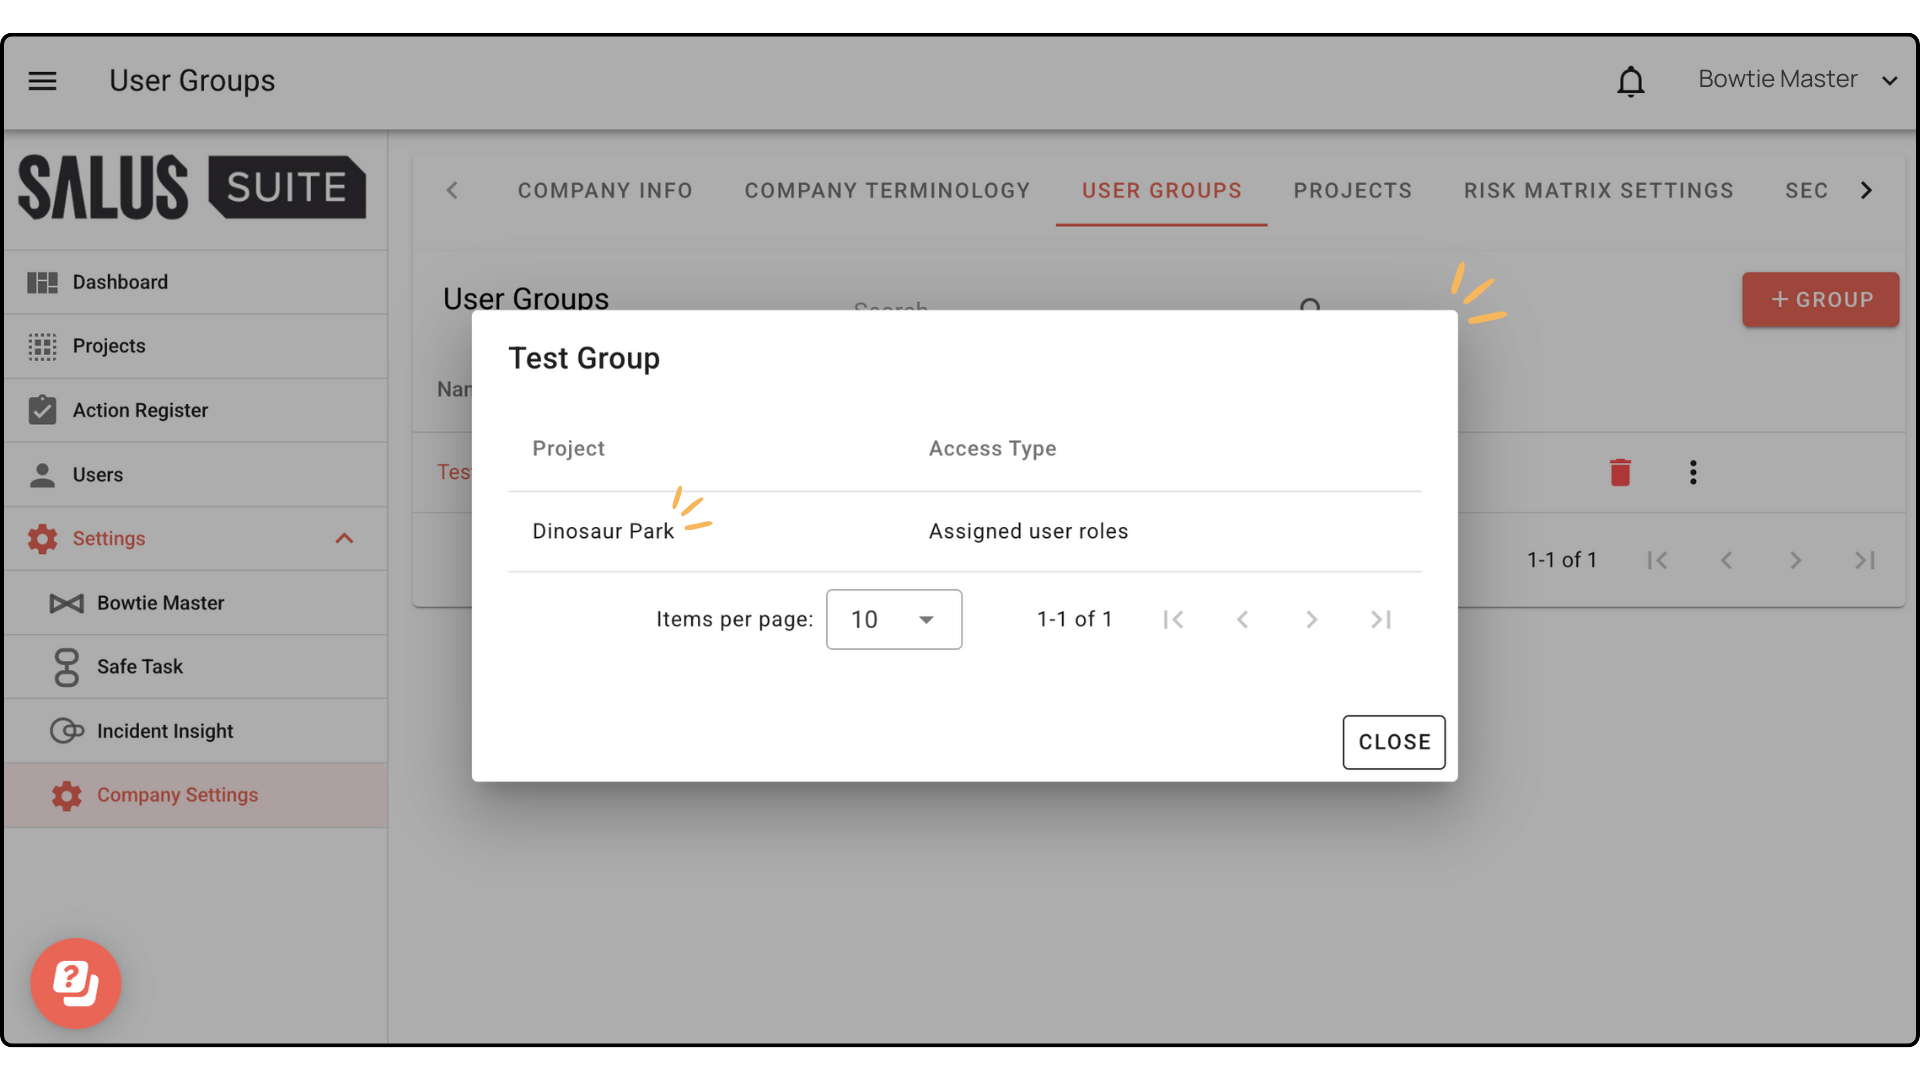
Step 3: Click on the ellipsis menu of the group you wish to access. Select View Accessible Projects.
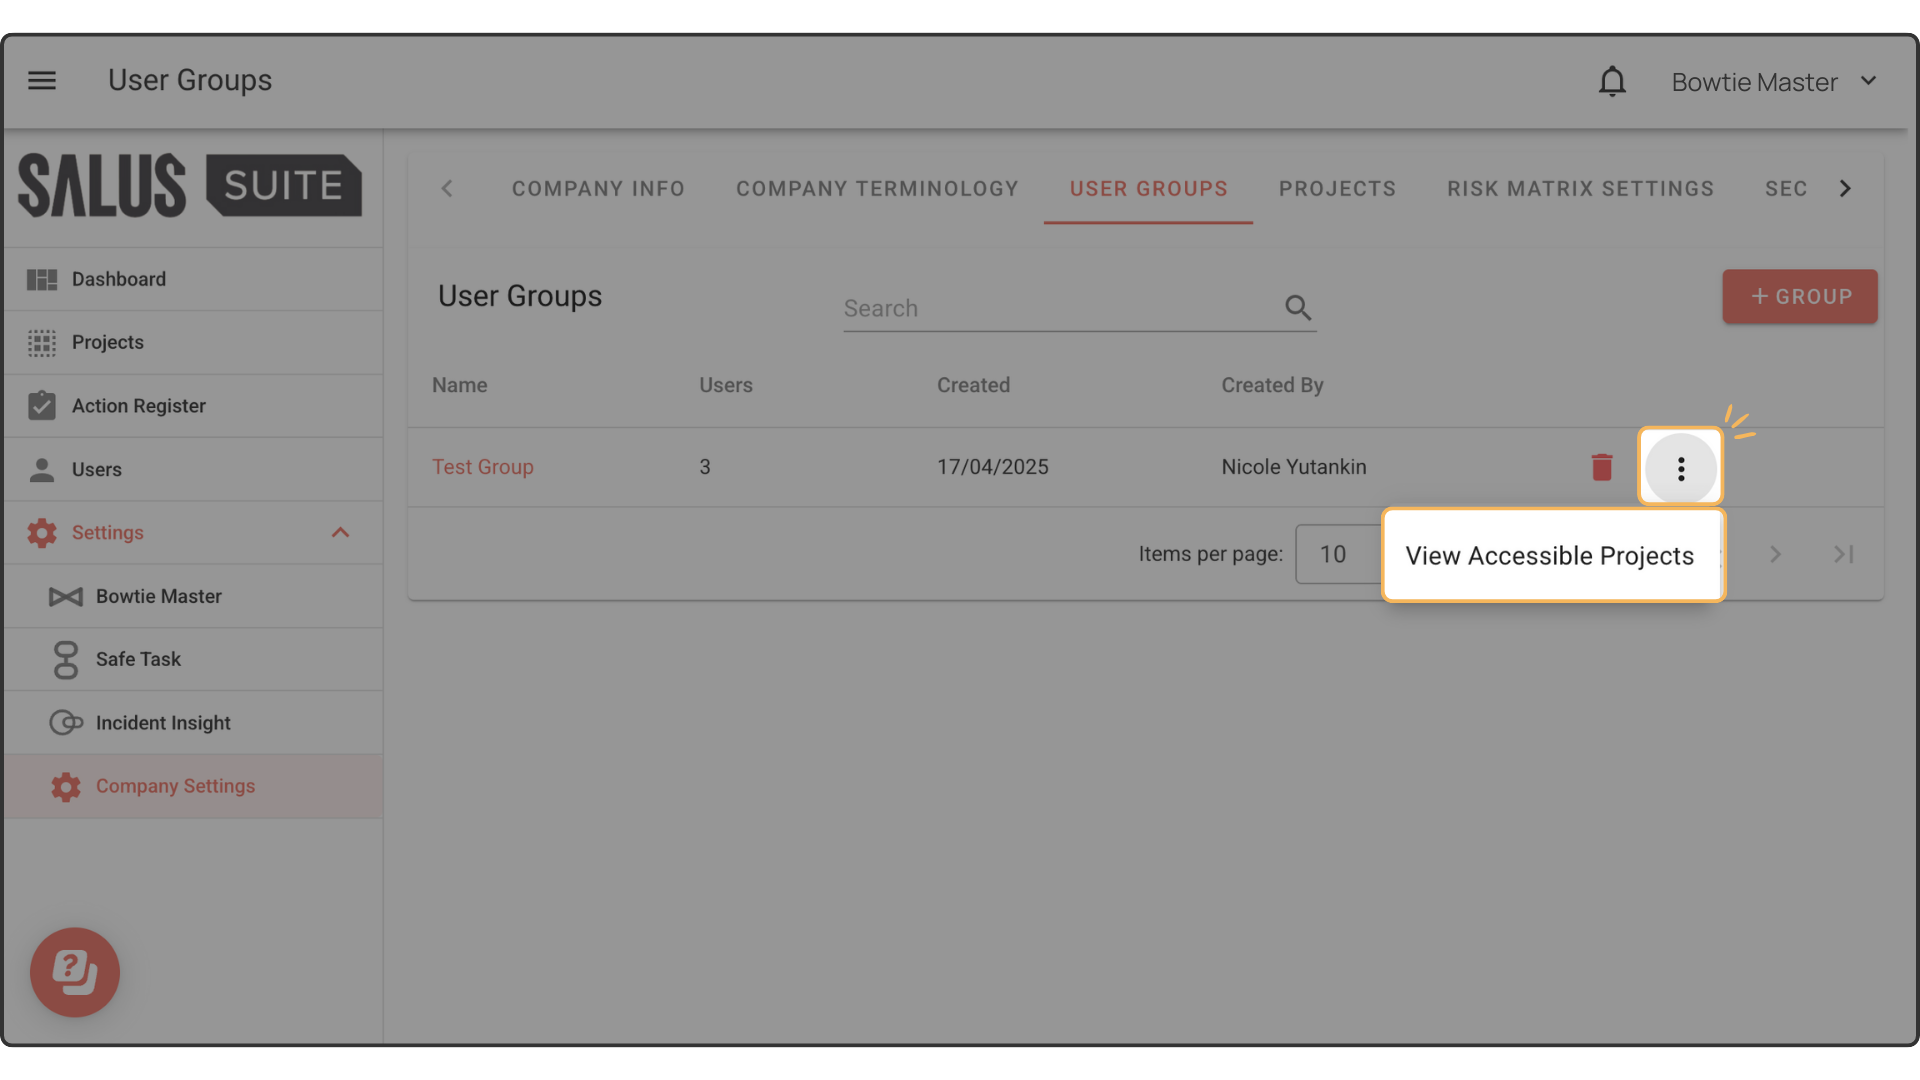
Step 4: The projects that the group can access will appear in a pop-up window.