Share a diagram
Bowtie diagrams are a wonderful means of making risks more understandable. It is therefore essential that the bowtie diagrams you create can be easily shared across your organisation. Bowtie Master makes sharing bowties quick and straightforward. A newly created bowtie can be shared in three ways:
- – As a high-quality image that can be downloaded in a PNG or PDF format
- – As a live link that can be accessed via any web browser
- – By inviting users into Bowtie Master to view and edit the diagram created
High-quality image download
Step 1: In the toolbar, click on the Download Tool, then select Download Image/PDF. 
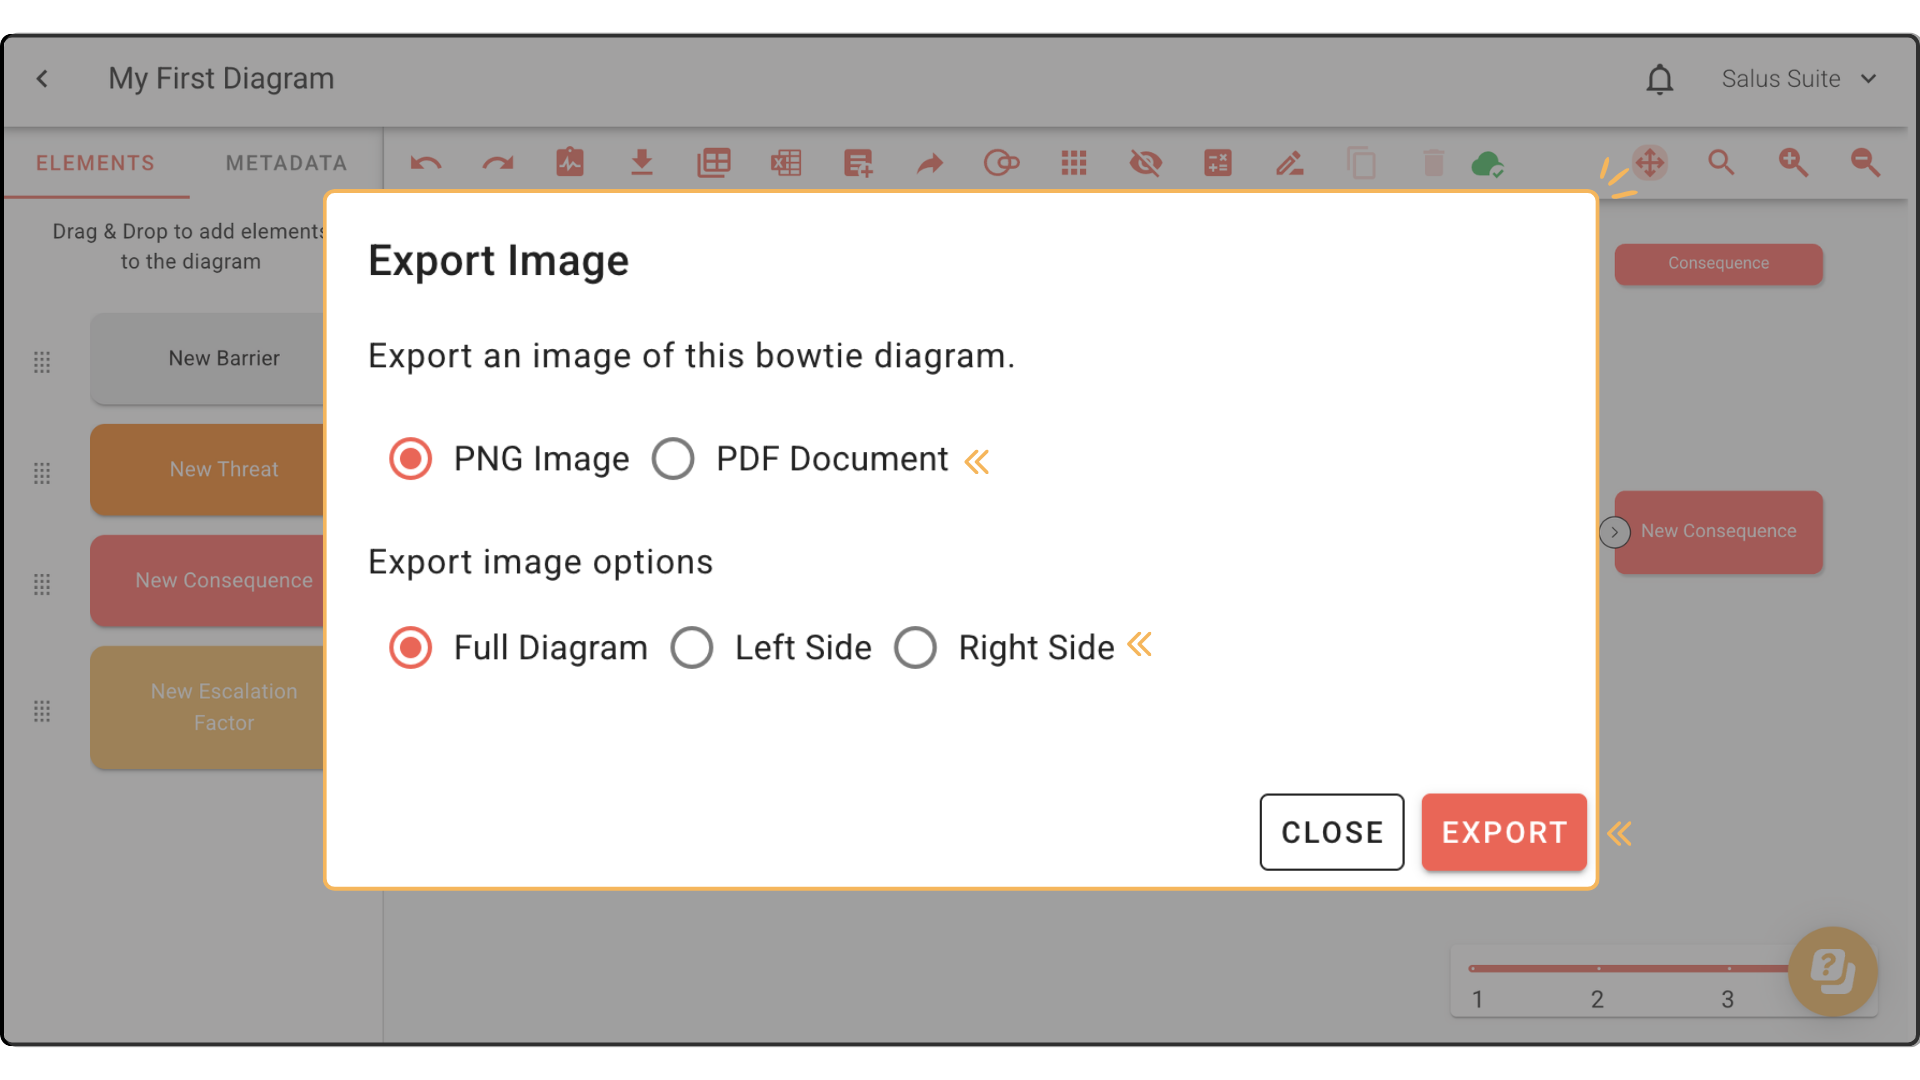
Step 2: Select your preferred image format: PNG Image or PDF Format.
Step 3: Select whether you would like to export the full diagram, the left side, or the right side only. Click EXPORT.
Share diagram via live link
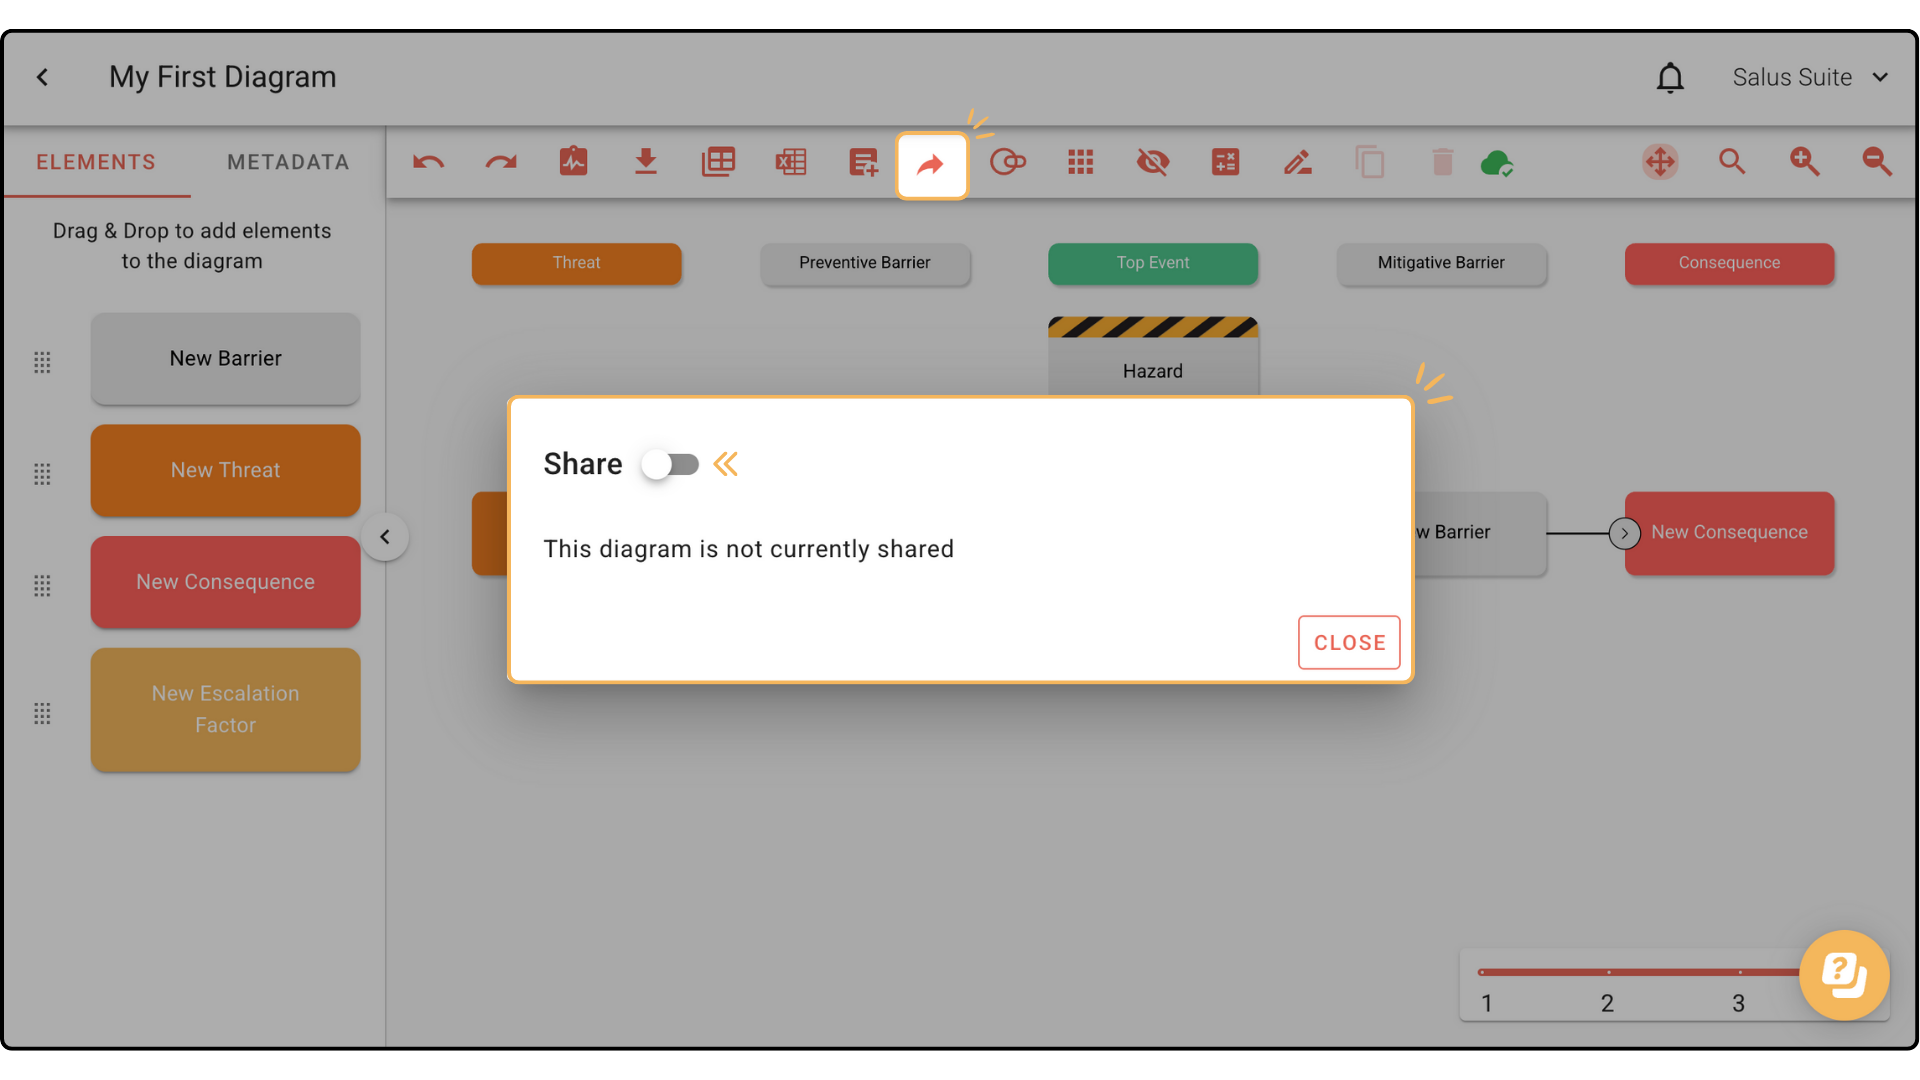
Step 1: Click on the Share button found in the toolbar of the Diagram Editor.
Step 2: Toggle the Share button on.
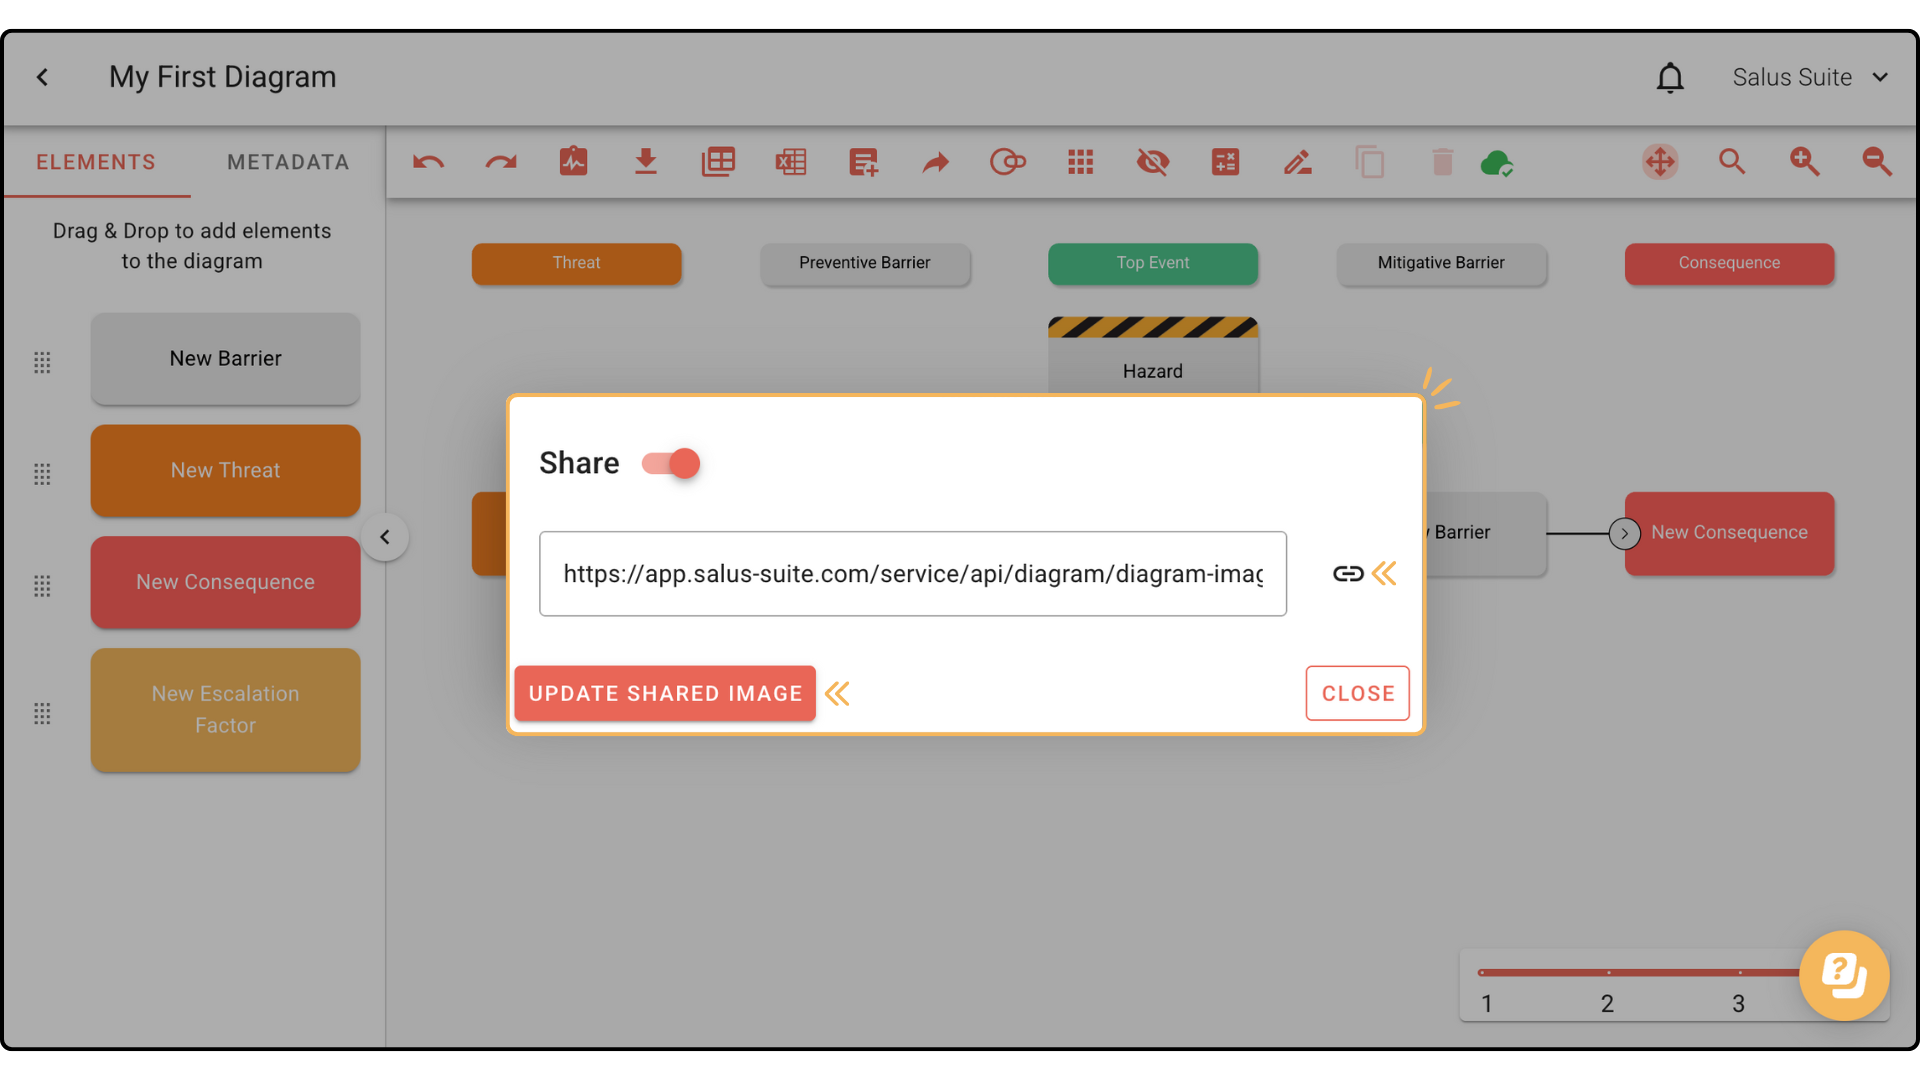
Step 3: Click on UPDATE SHARED IMAGE, then the Copy Link icon.
Step 4: The link is now ready to send. Paste the link where you wish to share. Individuals should now be able to click the link to view the bowtie in a read-only format.
NOTE: Users within Bowtie Master can share the Live link with anyone; the recipient/s do not need to have a license to the software. If the diagram is part of a restricted project, only users from that project can initially share the link. When changes are made to the diagram, ensure to press the UPDATE SHARED IMAGE; this will refresh the image link so users are seeing the latest version of the diagram.
If your diagram has multiple versions, you can choose to share either 1) the current version you are in 2) the latest published version or 3) a different version.
- To share the current version you are in:
Step 1: Click on the Share button in the toolbar.
Step 2: Toggle the Share button on. 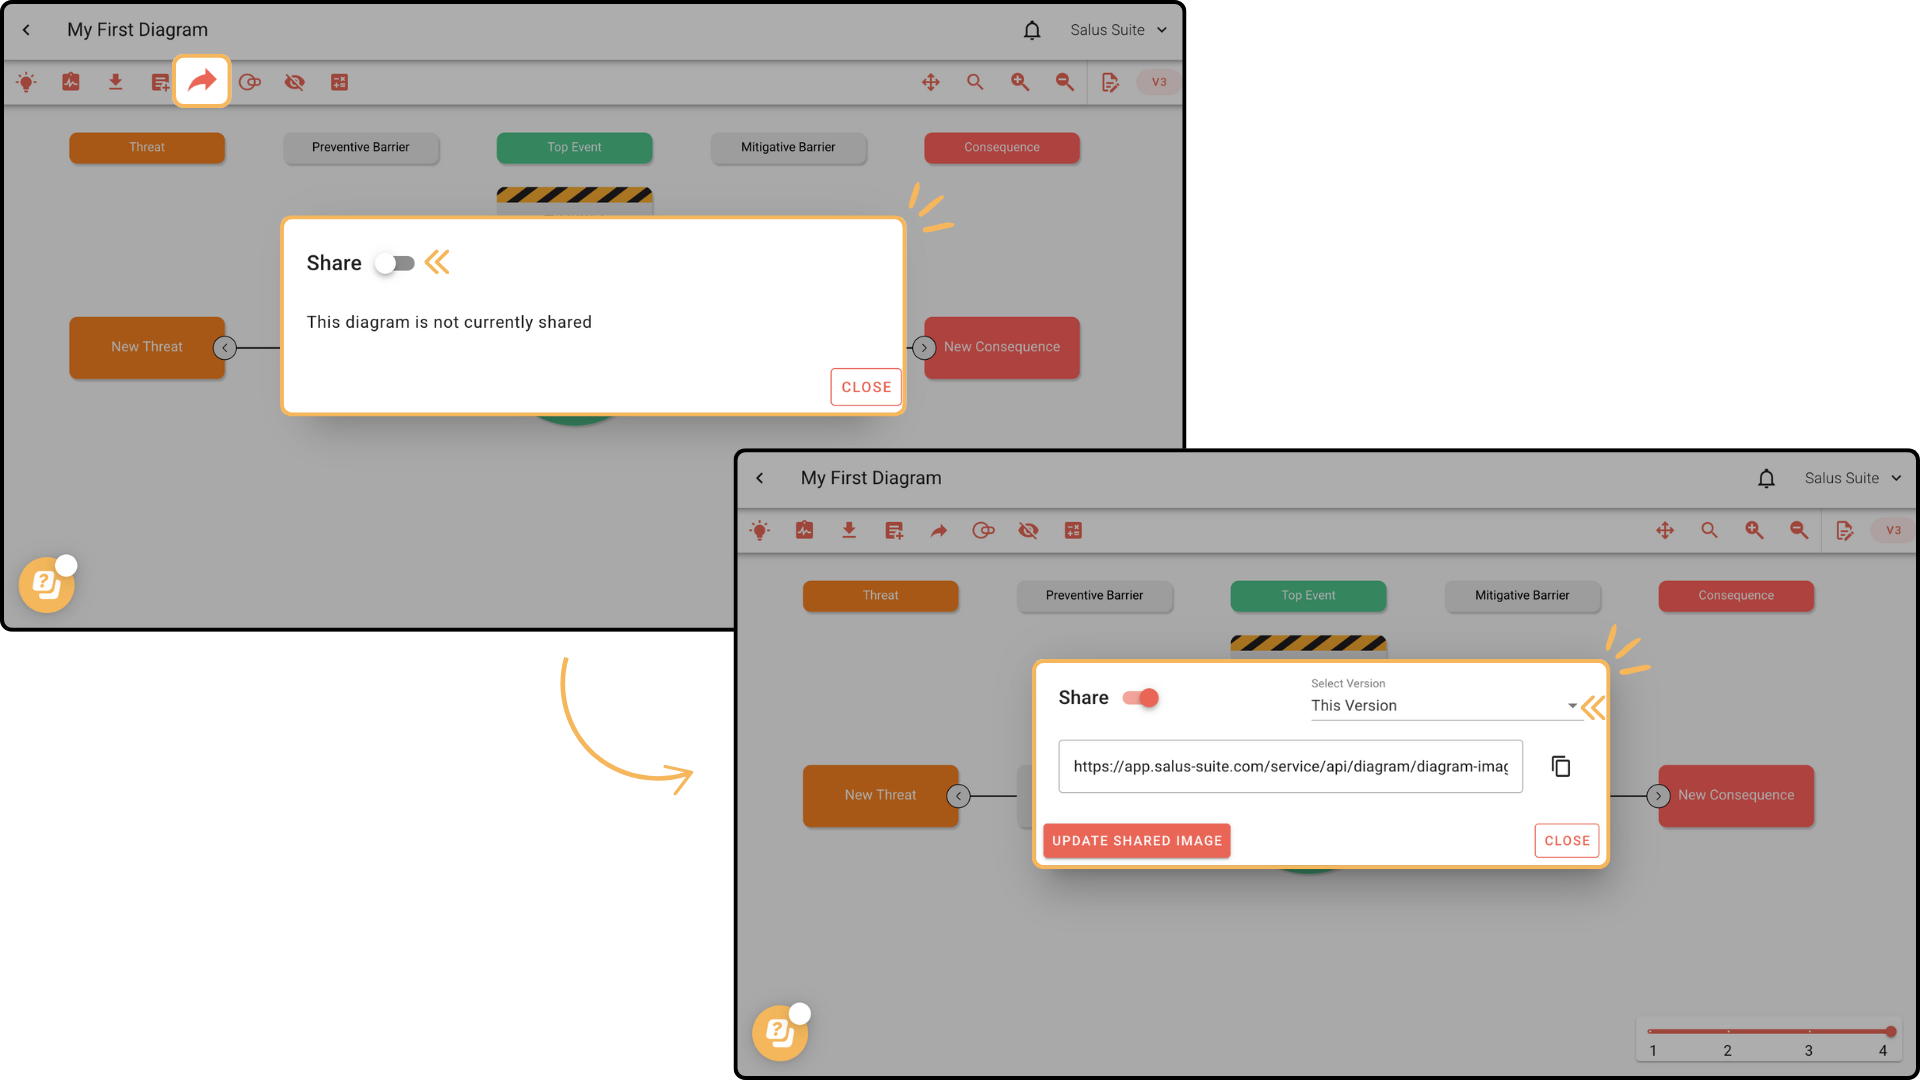
Step 3: In the Select Version dropdown, choose ‘This Version’.
Step 4: Click the Copy icon. The diagram is now ready to share.

- To share the latest published version:
Step 1: Click on the Share button in the toolbar.
Step 2: Toggle the Share button on.
Step 3: In the Select Version dropdown, choose ‘Latest Published Version’.
Step 4: Click the Copy icon. The diagram is now ready to share.

- To share a different version:
Step 1: Click on the Share button in the toolbar.
Step 2: Toggle the Share button on.
Step 3: In the Select Version dropdown, choose the version you wish to share (in this example, we chose Version 1).
Step 4: Click the Copy icon. The diagram is now ready to share.

Invite users to collaborate
NOTE: Only Organisation Admins can access the Users menu, and are therefore the only users who can complete this action.
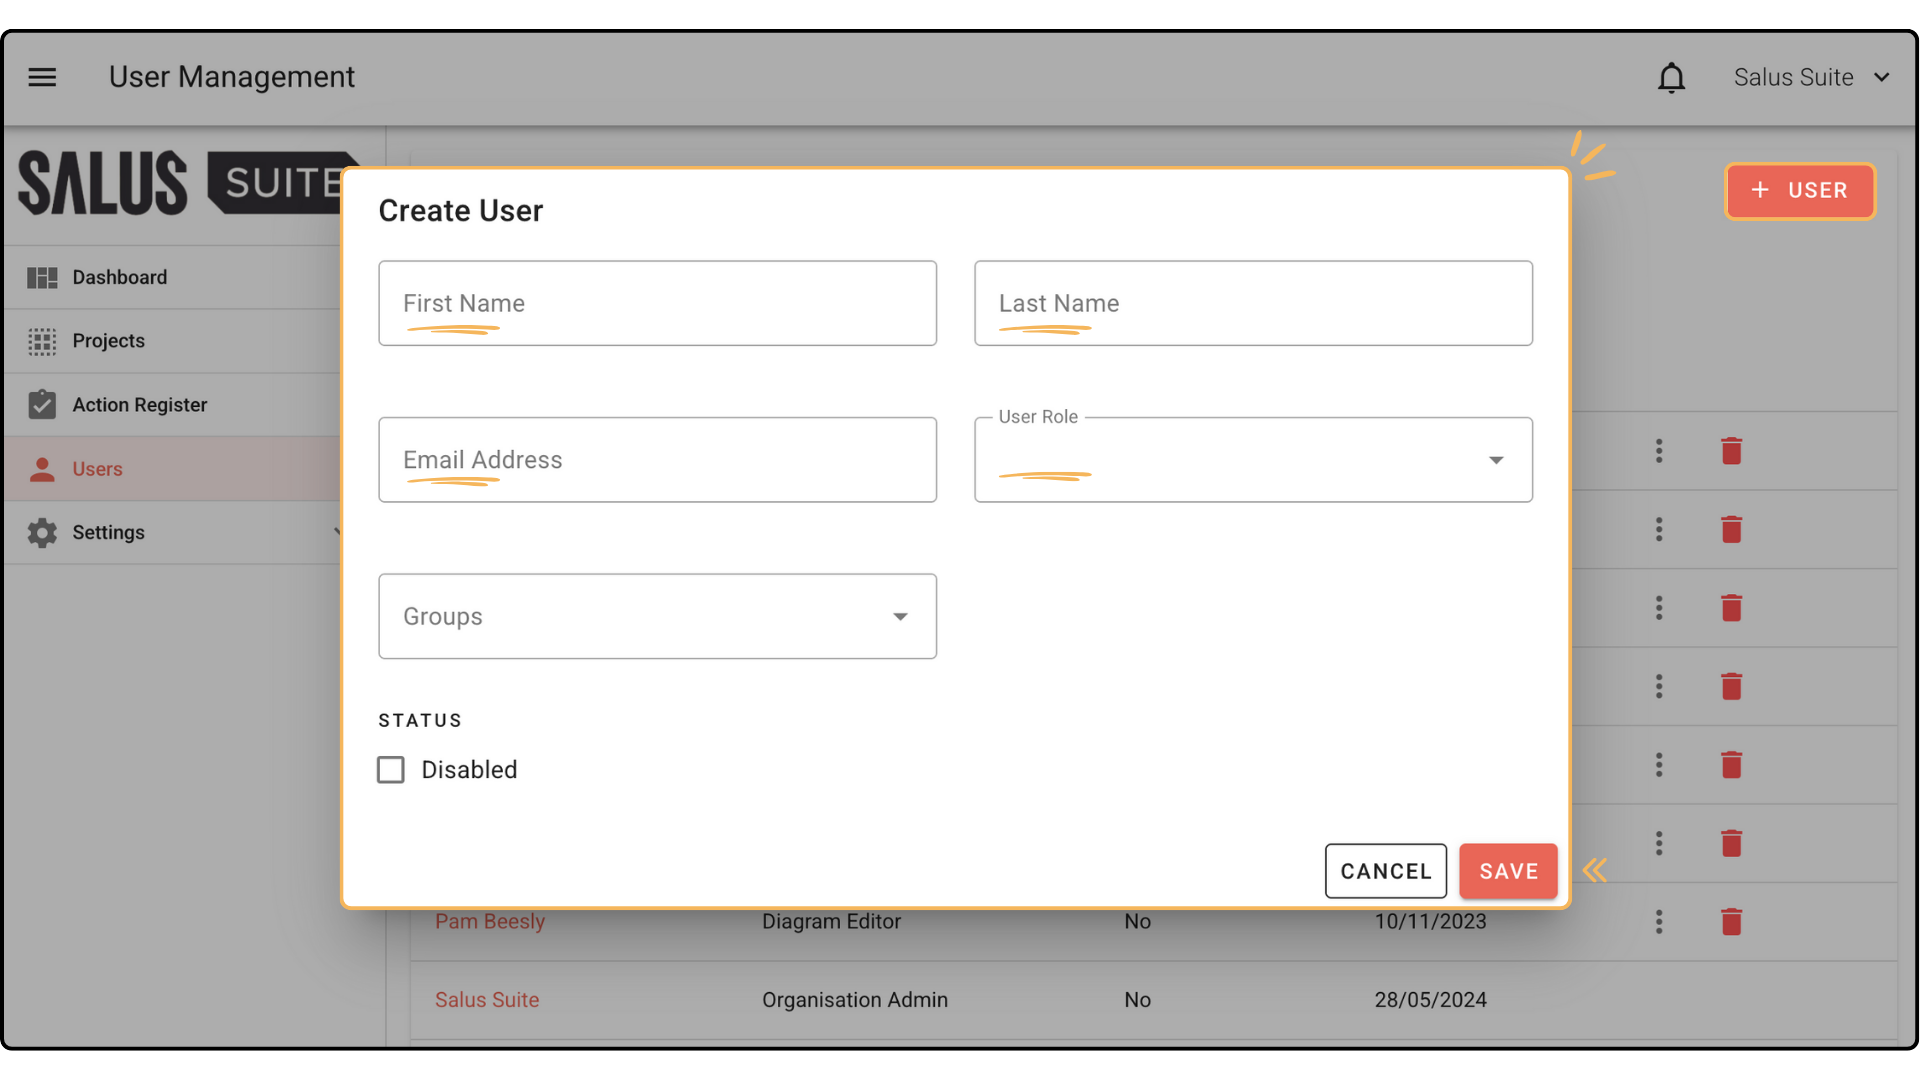
Step 1: In the User Menu, add new users by clicking on + USER.
Step 2: Complete the required fields and choose the user’s role from the drop-down menu. Click SAVE.
Step 3: The new user/s will receive an onboarding email with a welcome message and a link prompting them to log into the software.