Create your first project
In this tutorial, we’ll show you how to create a new project, rename a project, restrict a project, and add a user group to a project.
Create a new project
Step 1: Head to the Project Menu. Click on + PROJECT and enter a project name. Click SAVE. You will be directed straight into the new project, where you can add folders or create diagrams. The new project created will be displayed in the project list. 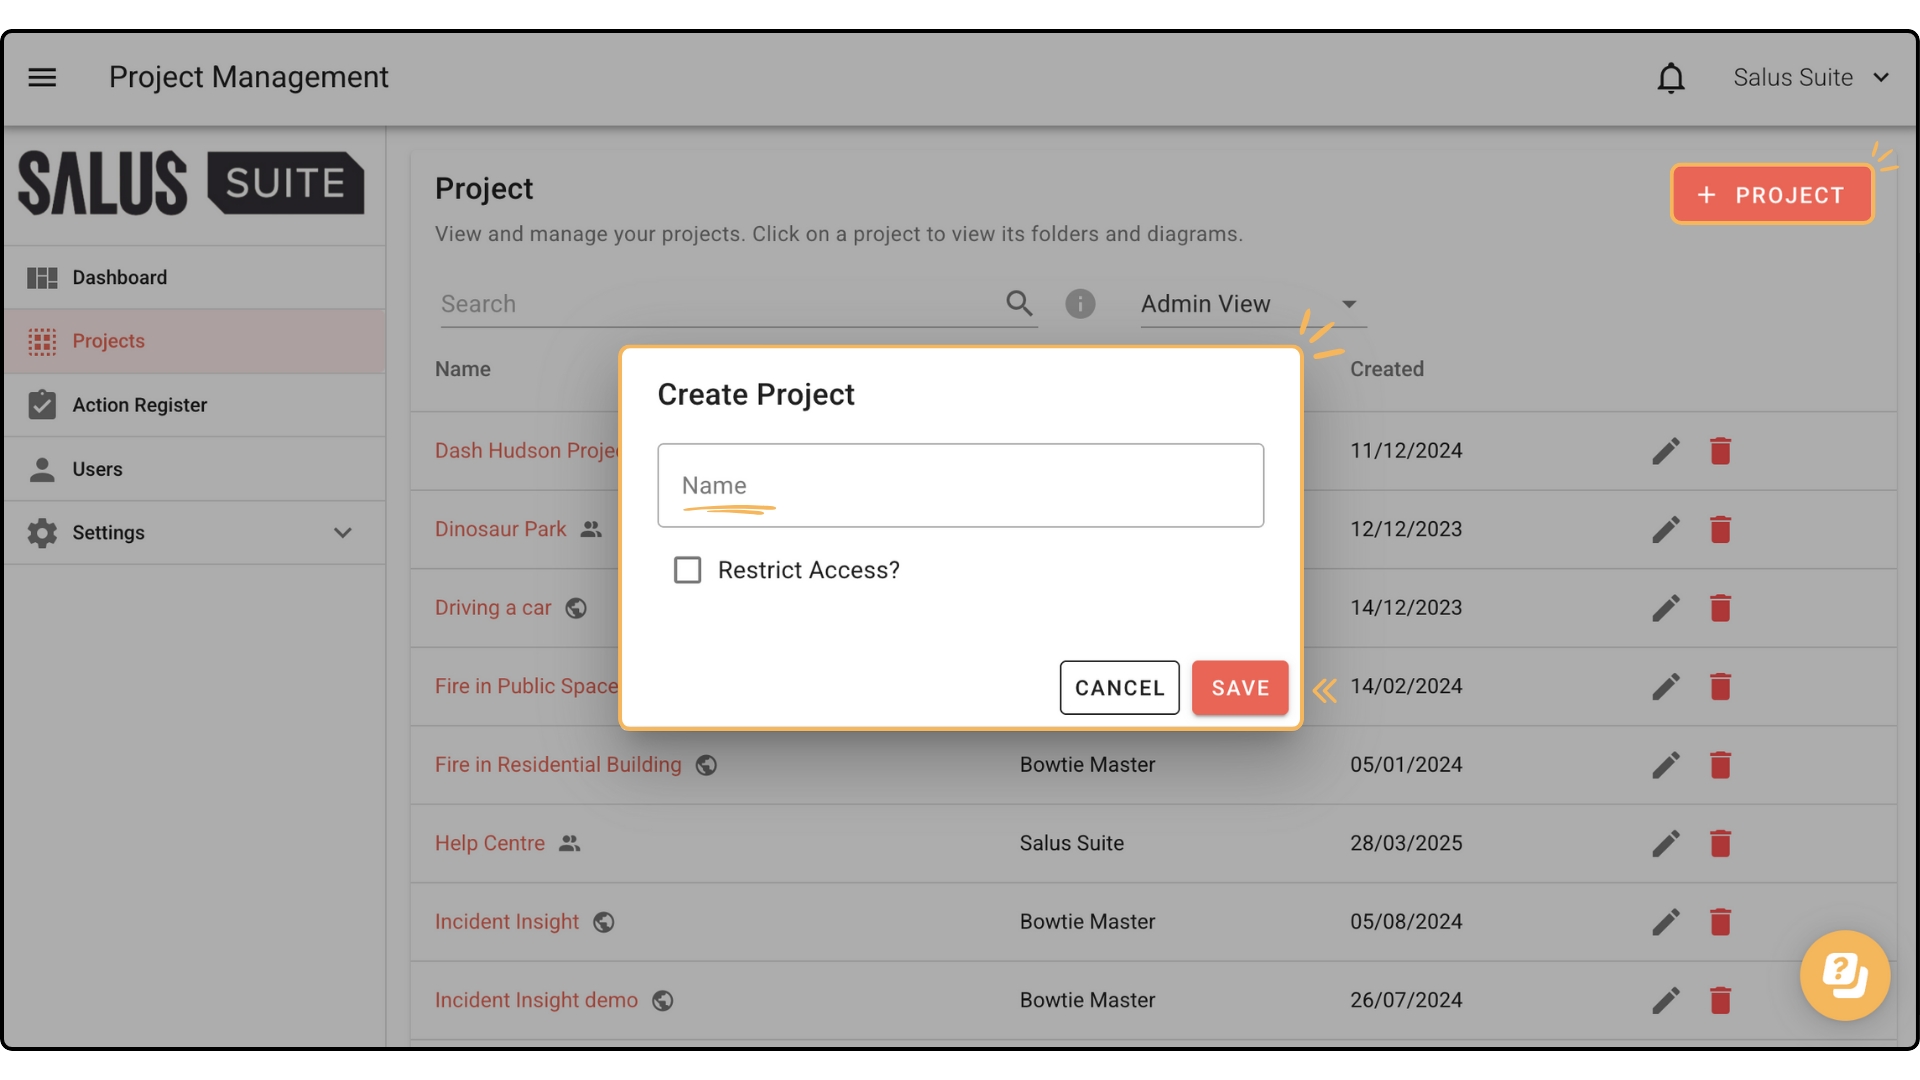
Rename a project
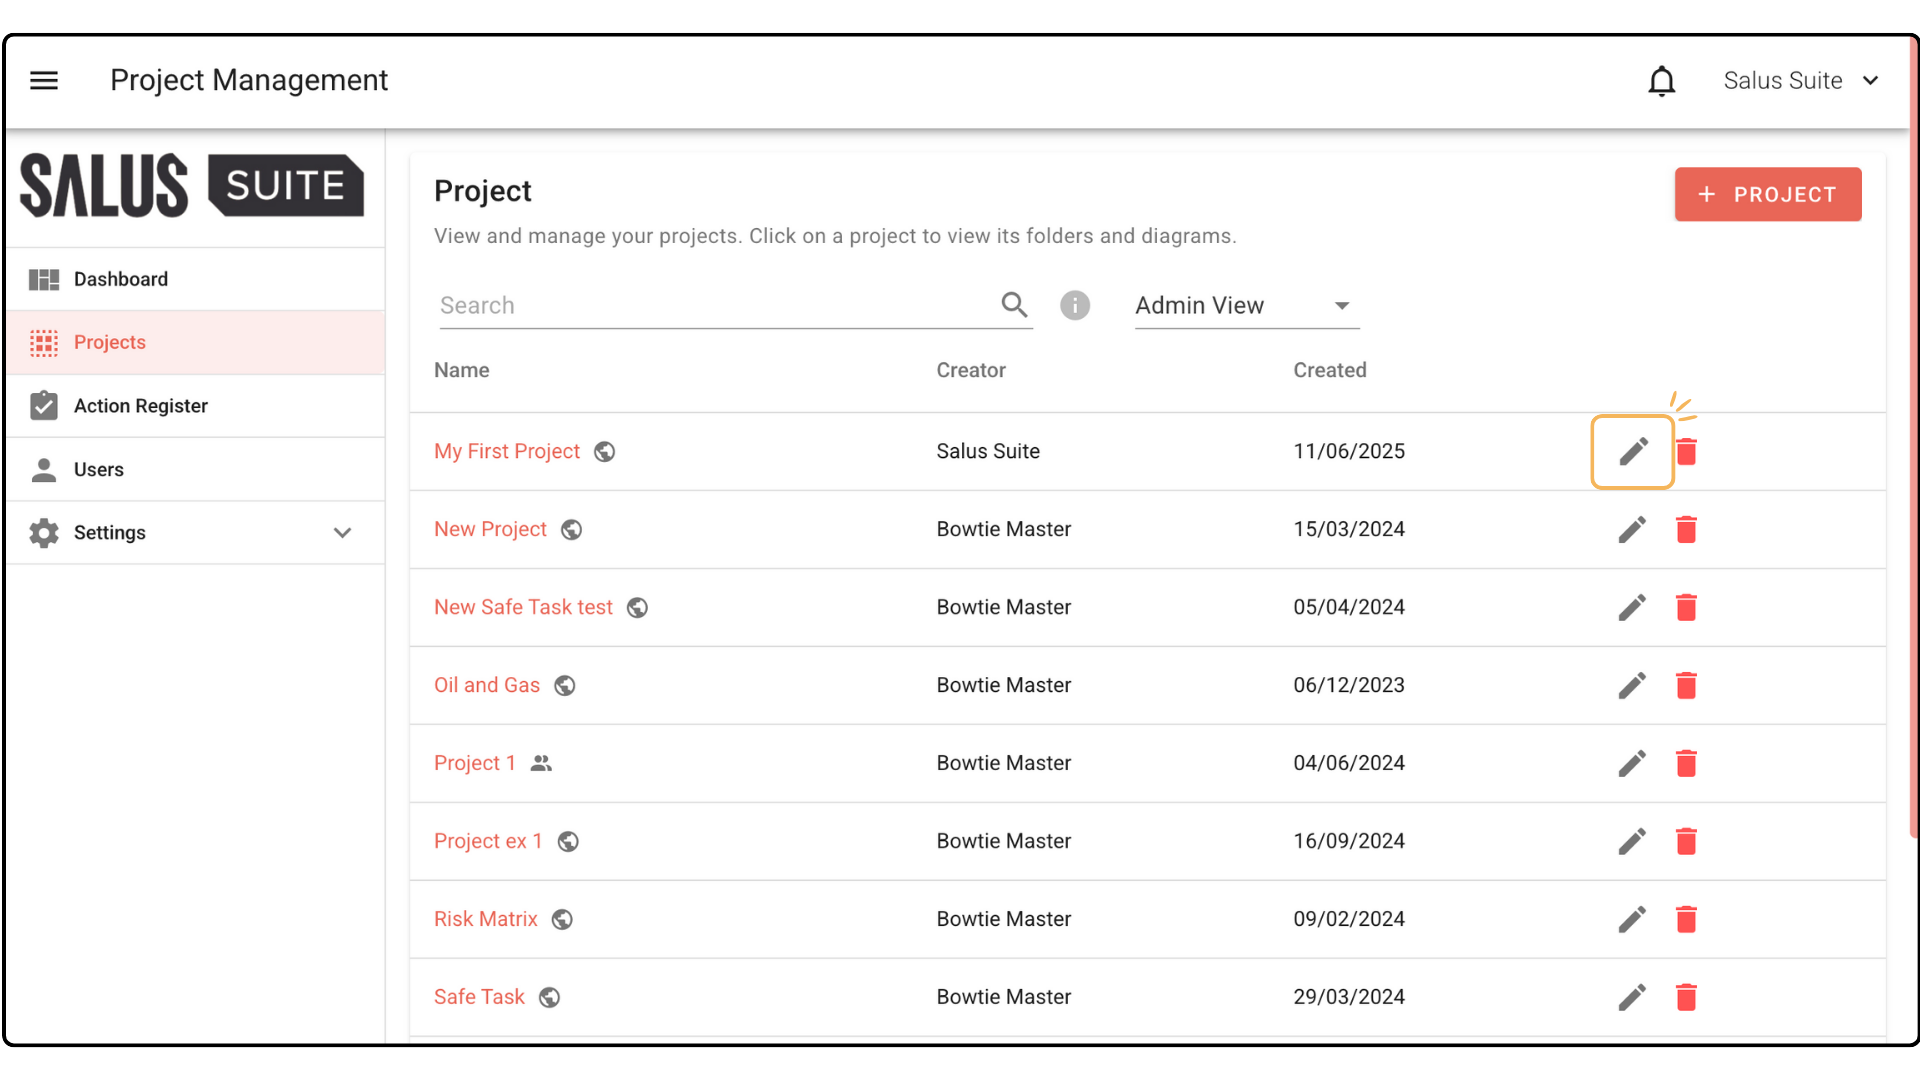
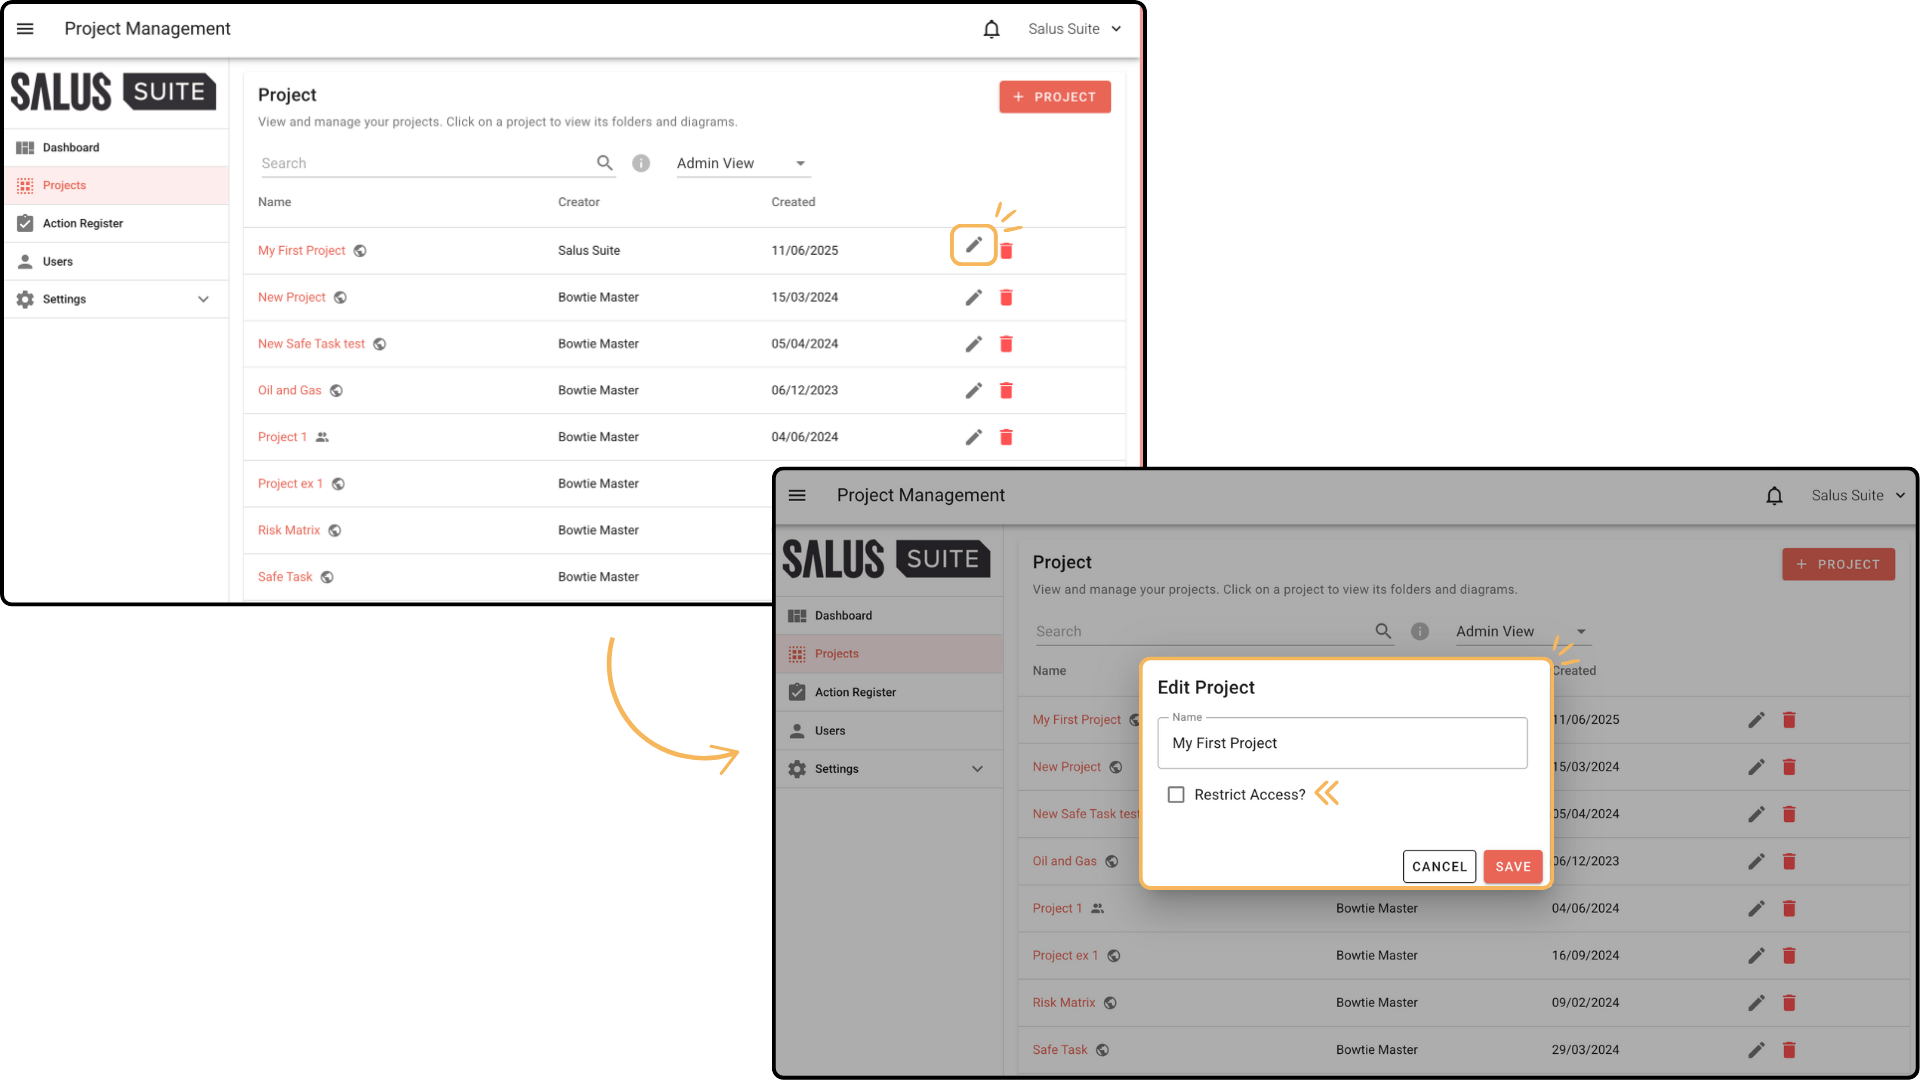
Step 1: Head to the Project Menu. Click on the Edit icon beside the project you wish to rename.
Step 2: In the pop-up, rename the project. Click Save. The project will now show with the new name. 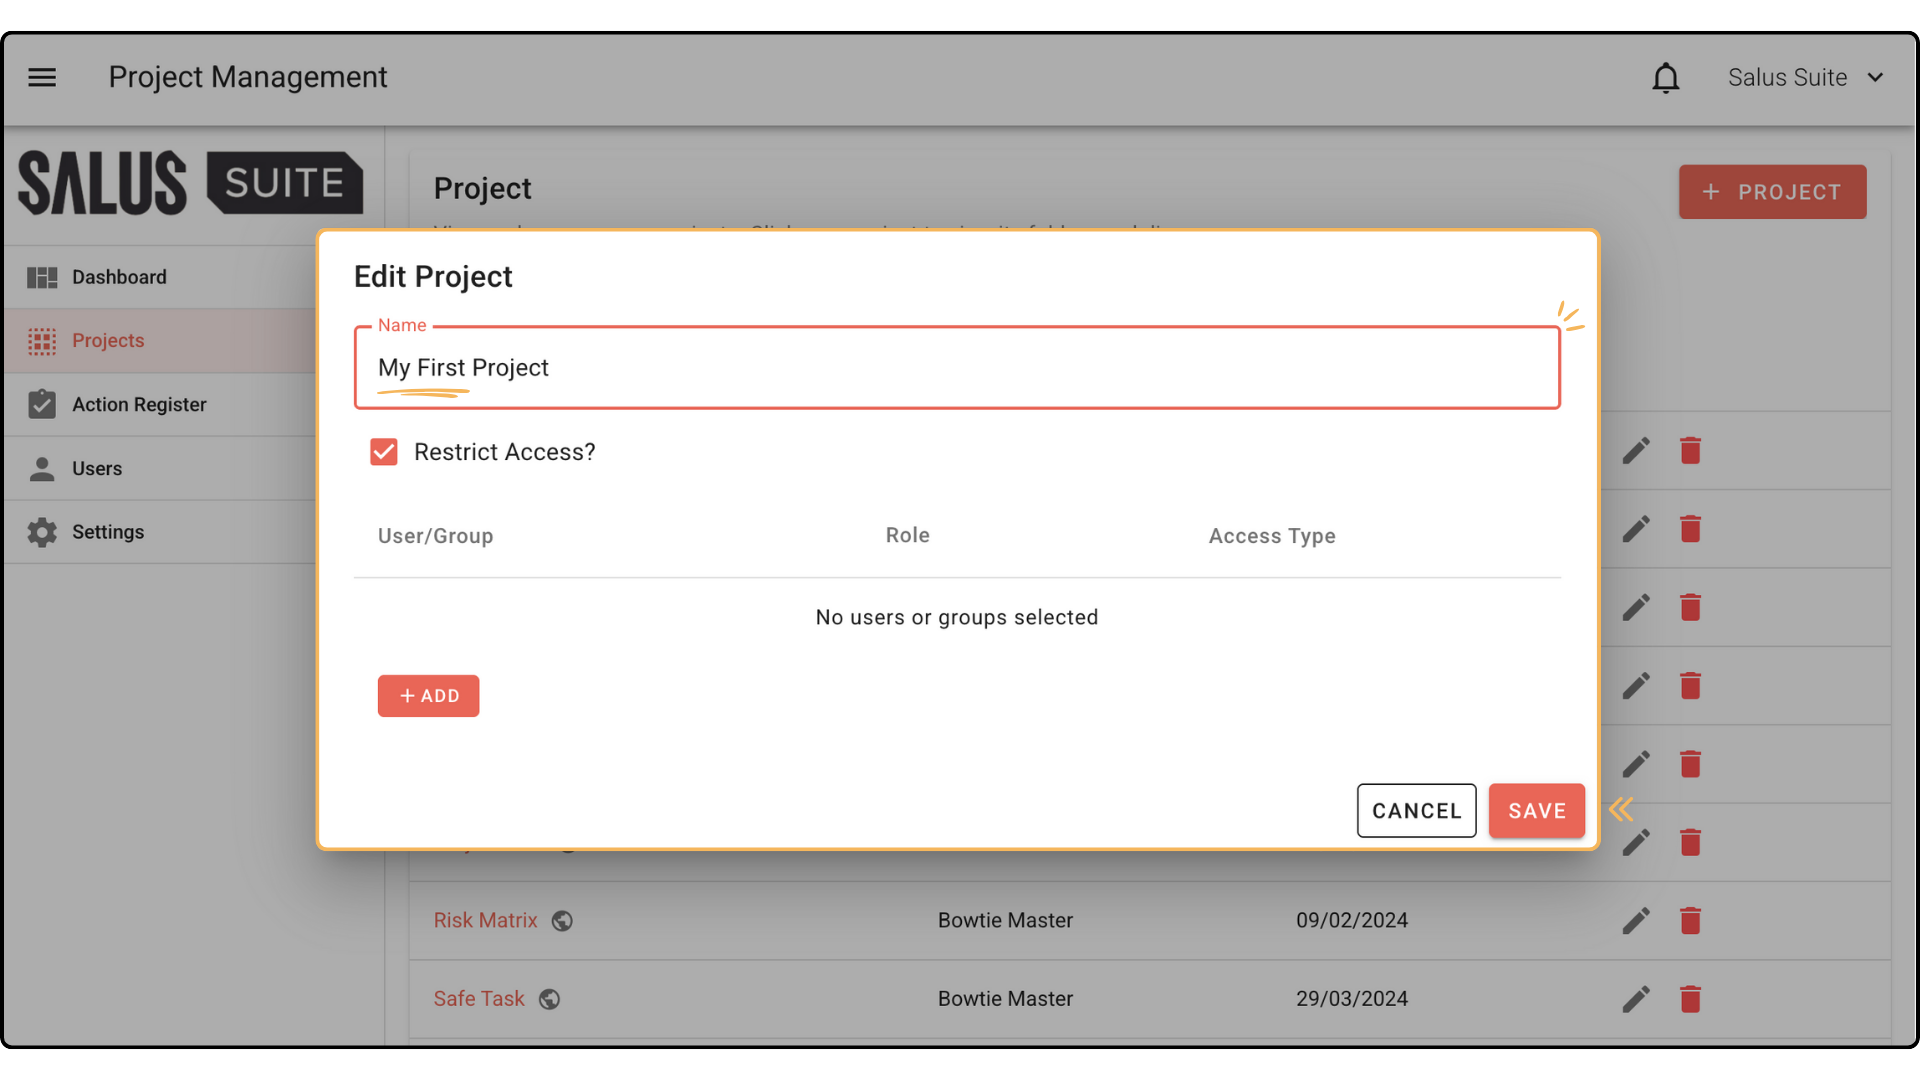
Restrict a project
By restricting a project, you are reducing the availability of that project to the selected users. Un-selected users will not be able to see the project on the Project menu.
Step 1: Click Edit Project beside the project you wish to restrict. Tick Restrict Access.
Step 2: Click Add. 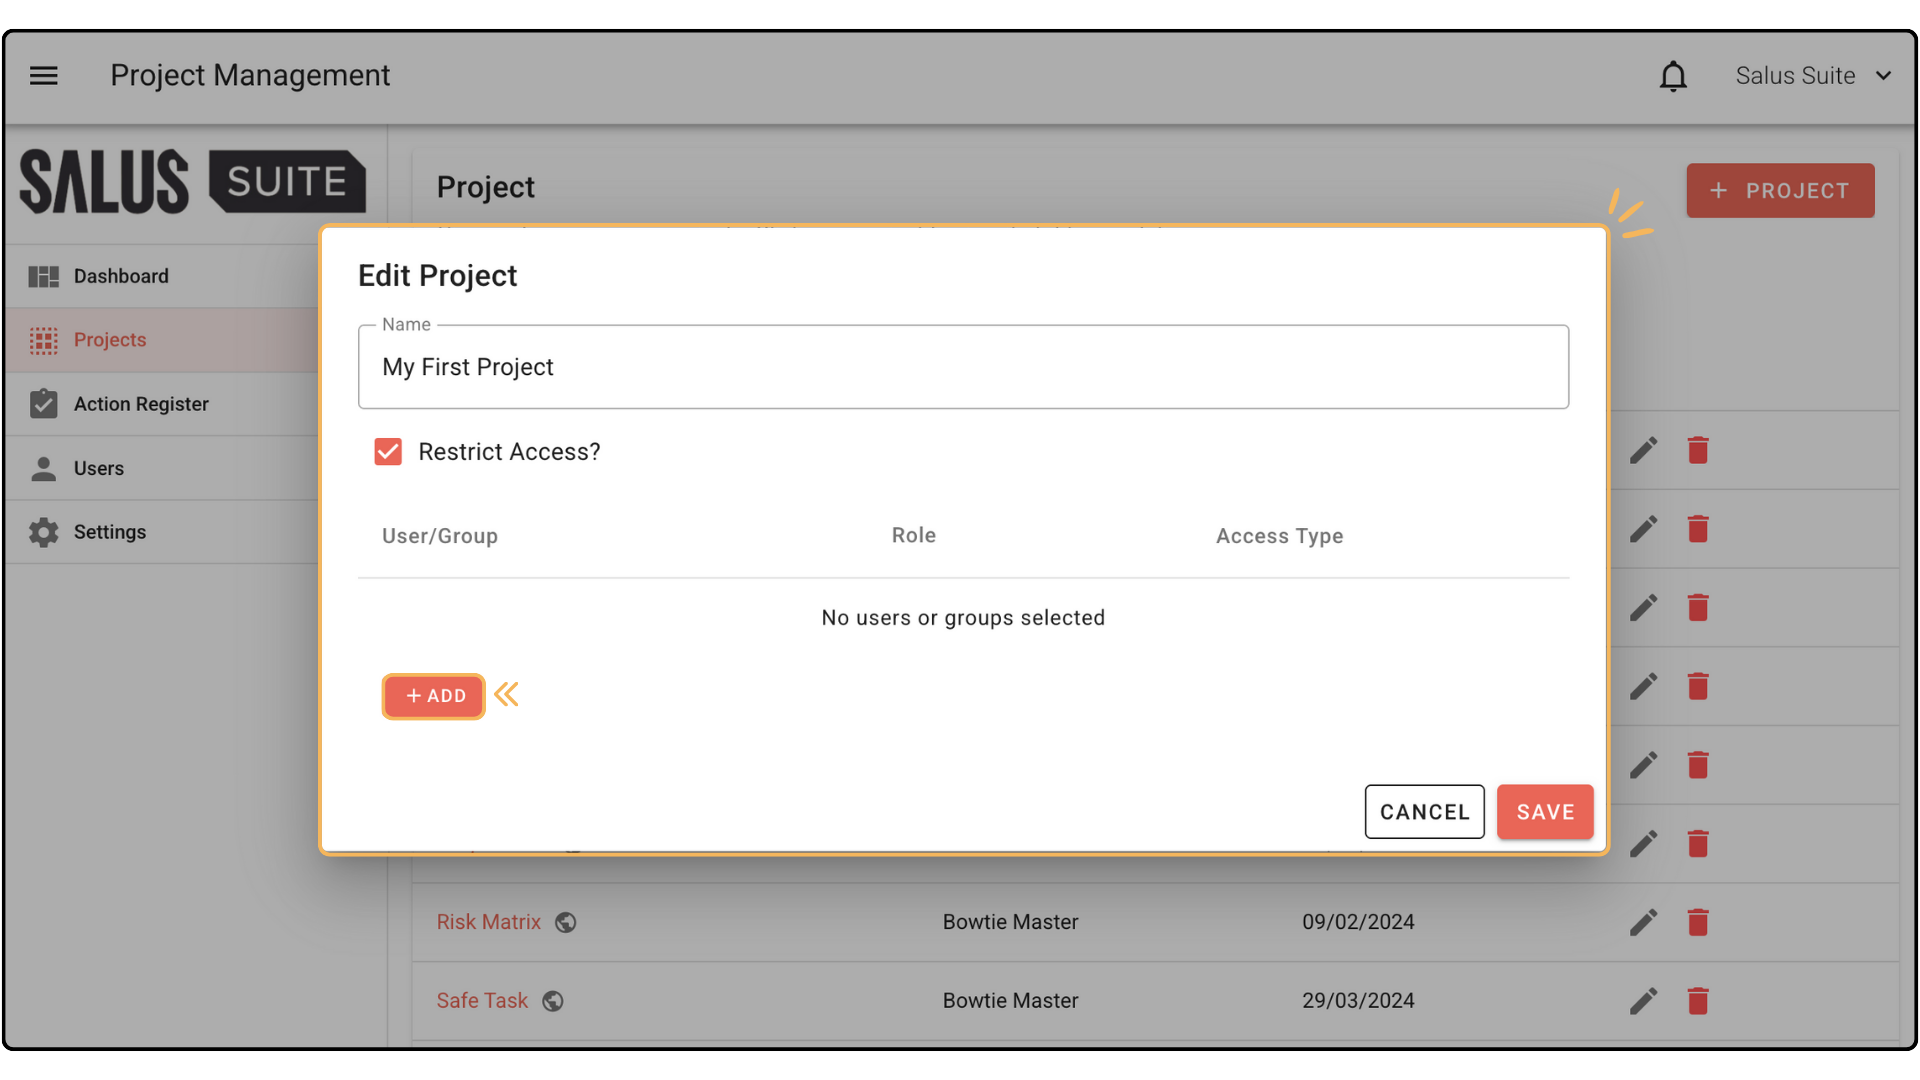
Step 3: In the Select Users window pop-up, select the Users and/or Group/s you wish to restrict the project to. Click Add. 
Step 4: All User/s and or Group/s will appear in the selected project. Before clicking save, you may want to check the Access Type assigned to the User/s and or Group/s.
Access Type has two options :
- Assigned user role: this relates to the role each user has when input into the system
- Viewers (view only)
*If a user is part of a group and is added to the same restricted Project as a single user, the individual user access type takes priority over gthe roup access type.
Once happy, click Save.
A user who has access to a restricted project will be able to view or access and edit the diagrams within the project, based on the Access Type allocated. 
For a more in-depth tutorial on User Groups and restricting access, click here.


